Forward Your CCA Gmail to Another Email Account
Before you begin
CCA email forwarding restrictions
These instructions are for CCA students only. Faculty and staff are not permitted to forward their CCA email to personal email accounts.
System requirements
Manage your CCA Gmail forwarding options from a desktop browser. You cannot complete these steps from the Gmail mobile application.
Further reading
The instructions below were adapted for the CCA community from Google's Gmail support site, where you can find additional information on email forwarding options.
Enable automatic forwarding
1 Open Gmail in your web browser
You can access your CCA Gmail by logging in at google.cca.edu.
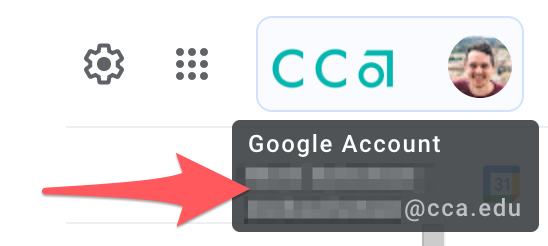
You can verify that you're logged into your CCA email by hovering over or clicking on the profile icon in Gmail.
2 Click the gear icon
This will reveal a dropdown menu with several 'Quick settings.'
3 Select 'See all Settings'
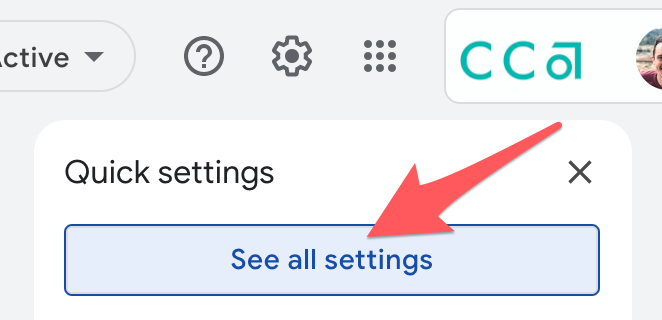
This will open up Gmail's detailed 'Settings' screen.
4 Select the 'Forwarding and POP/IMAP' tab

5 Select 'Add forwarding address'
This button displays within the 'Forwarding' section on this screen.
6 Enter the forwarding email address
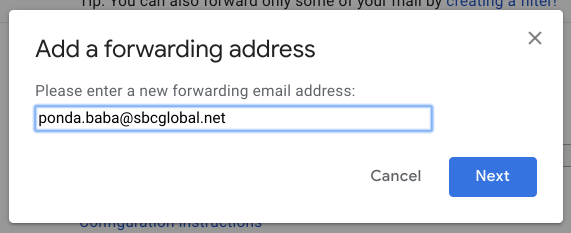
This is where your CCA email will be forwarded following setup.
Select 'Next' when you've finished entering your email information.
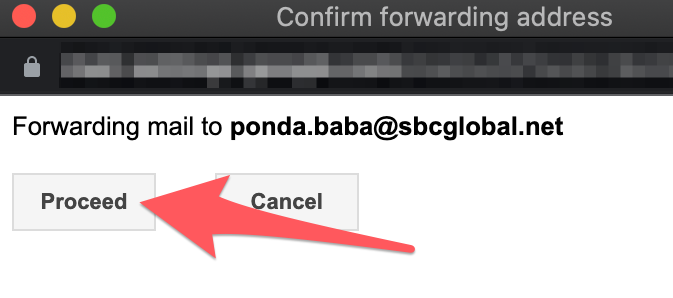
7 Review forwarding information and proceed
Select 'Proceed' to confirm email forwarding to the specified address.
8 Check your forwarding email for a confirmation message
This message will be sent to the email address specified in step 6.
9 Open the verification link
The email forwarding confirmation message will contain a verification link to finish setup. Click this link to proceed.
10 Review and confirm forwarding information
Review the forwarding email for accuracy, then select the 'Confirm' button to save your forwarding preferences.

11 Reopen your CCA Gmail forwarding settings
If you closed your original tab:
- Return to google.cca.edu
- Click the gear icon ⚙
- Select 'See all Settings'
- Select 'Forwarding and POP/IMAP' tab
12 Select the 'Forward a copy of incoming mail to' option
Confirm that the desired destination email appears in the associated dropdown field.

Do not change the 'keep California College of the Arts Mail's copy in the Inbox' setting.
13 Save your settings
Click the 'Save Changes' button before leaving this screen to retain changes.
Disable automatic forwarding
Follow the steps below if you no longer wish for your CCA email to be forwarded to another email address.
1 Open your CCA Gmail forwarding settings
- Return to google.cca.edu, and log in as needed
- Click the gear icon ⚙
- Select 'See all Settings'
- Select 'Forwarding and POP/IMAP' tab
2 Select the 'Disable forwarding' option

3 Save your settings
Click the 'Save Changes' button before leaving this screen to retain changes.
You can find additional instructions on email forwarding options on Google's Gmail support site. The instructions above were adapted for the CCA community from steps provided there.