
Creating, Saving, + Publishing Pages
Now that we've become familiar with what Wagtail has to offer, let's start building our own Basic page.
Creating a Portal Page

First, navigate to Wagtail admin. From there, you're going to want to determine where your page will live. Since this is a Basic page, it will need to be the child of a Section page or another Basic page. (This particular example shows a Basic page underneath the Sandbox (Training) Section page.)
Once you've selected the desired page, click “+ Add Child Page” at the top of the Wagtail editor, in the dark teal banner.
If your selected "parent" page has multiple "child" page templates available, you will see the 'Create a Page' screen, where you must specify which page type to create (see image below).

If only one page template is available, the page editor for that template will open automatically when you click Add Child Page.
This example references the Basic page editor. An empty basic page will look like this in Wagtail:
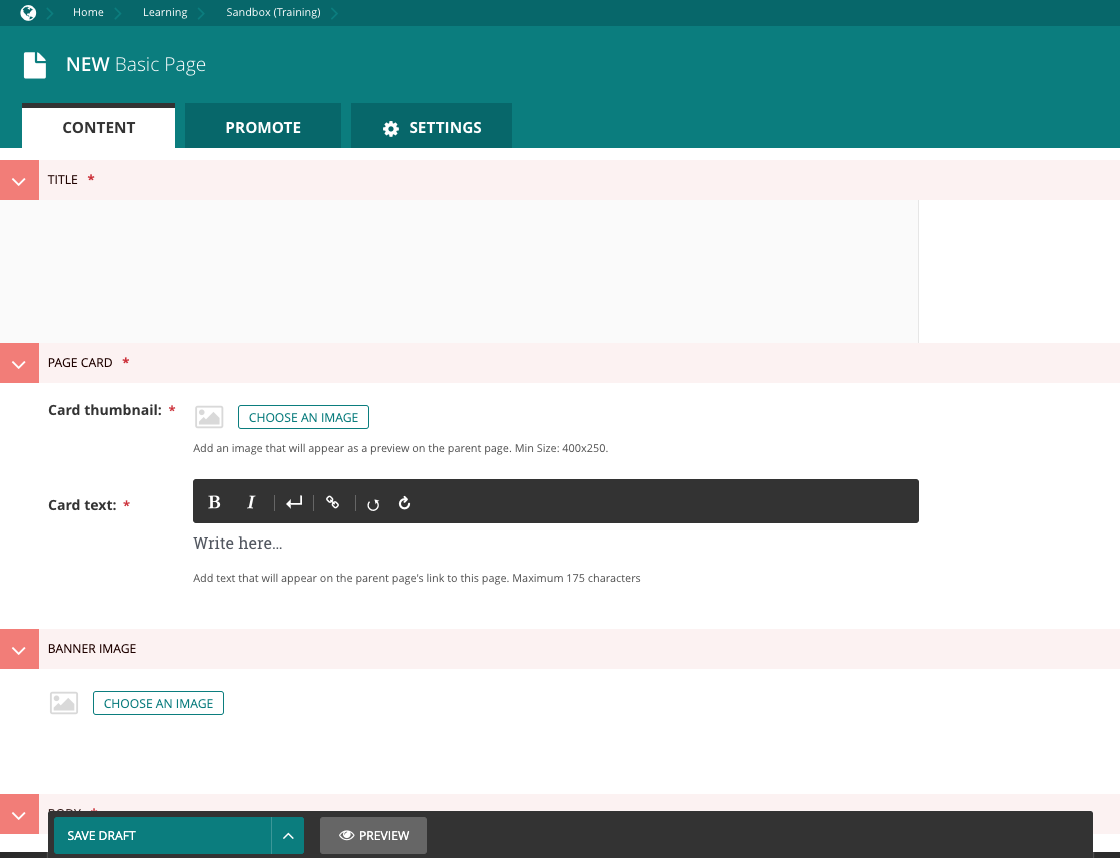
Now it's time to start filling this page with content!
Required Fields
First, fill in all required fields. You will be unable to save or publish the page if a required field is left blank. The required fields for a Basic page include:
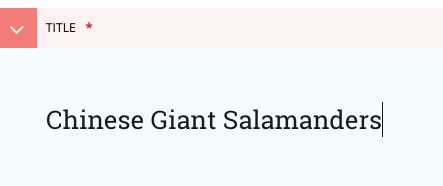
- Title*
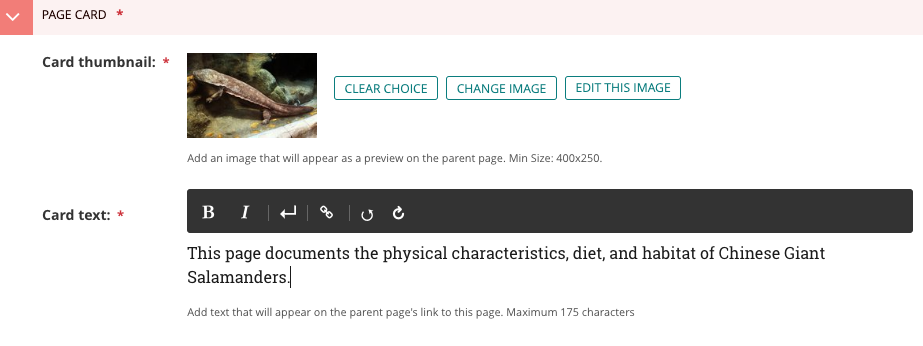
- Card Thumbnail image + Card Text
- One streamfield element/block within the Body section
*Filling out the page title triggers the creation of another required field, the page Slug, which is essentially the last portion of a page's URL. Please refer to our Page URLs documentation for further info on slugs.
Make sure your Title and Card Text are descriptive but concise and that your Card Thumbnail indicates something specific about your page content (whenever possible).
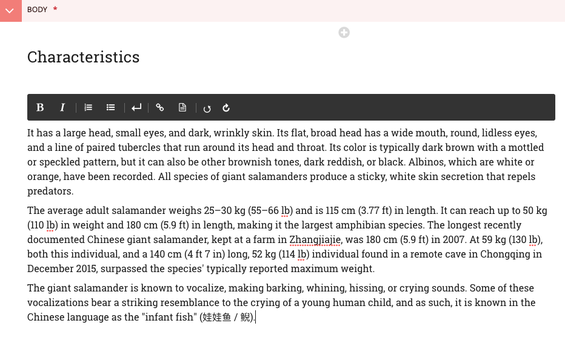
Next, add at least one streamfield block to the Body section. Two of the most commonly-used blocks are the Subheading and Paragraph blocks (as depicted here). However, there are several other blocks available for you to use, each of which fosters a distinct experience for users.
Experiment with which blocks work best for your content, and make sure to reference the Page Content documentation for a more detailed breakdown of available blocks.
Saving Your Page
With your required fields now filled, hit the 'Save Draft' button located on the left side of the bottom banner. By saving your page in draft, you may work on the page content for any length of time before publishing it.
Save your page frequently as you edit to protect all of your hard work!

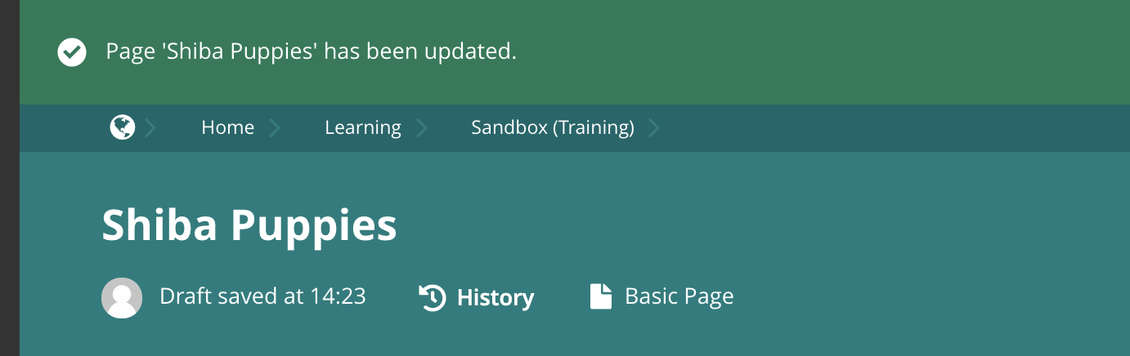
If your page saves successfully, the editor will refresh, and a green confirmation banner will appear across the top of the screen (as depicted below). If you have any page errors or are missing required fields, your page will not save, and you will see a red banner across the top of the screen.
Previewing Your Page
Your page is now saved as a draft, but you're not sure you're ready to publish. How do you know what it will look like once you published it? Thankfully, Wagtail provides a Preview option, located next to the Save Draft button.
Preview operates with similar rules to the save function. It only works if all required fields are filled and your page contains no errors. When these rules are met, your preview will open in a separate browser tab.
Publishing Your Page
After previewing the live display of your page, you may feel ready to publish. To do so, click on the upward arrow located on the right side of the Save Draft button.

This arrow reveals a menu containing a 'Publish' option, which you may click when ready.
The publisher menu also includes choices like Delete and, for pages that are already published, an Unpublish option. For more information on these options, see Password Protection, Unpublishing, + Deleting Pages.
Once published, your browser tab will refresh to show the Wagtail "Explorer" view (displaying the Parent page of your newly published page in the dark teal header). Above the teal header you will see a green confirmation banner indicating that your page was successfully published.

Congratulations! Those are the basic steps of creating a Portal page, from start to finish!
Scheduling a Publication
Please note that this feature is not functioning consistently. If you schedule page publication or expiration, please make sure to check your page's status after the scheduled dates elapse.
To set up a page to automatically publish or expire (unpublish) at a designated date and time:
- Open the Wagtail editor for the page you wish to schedule for publication.
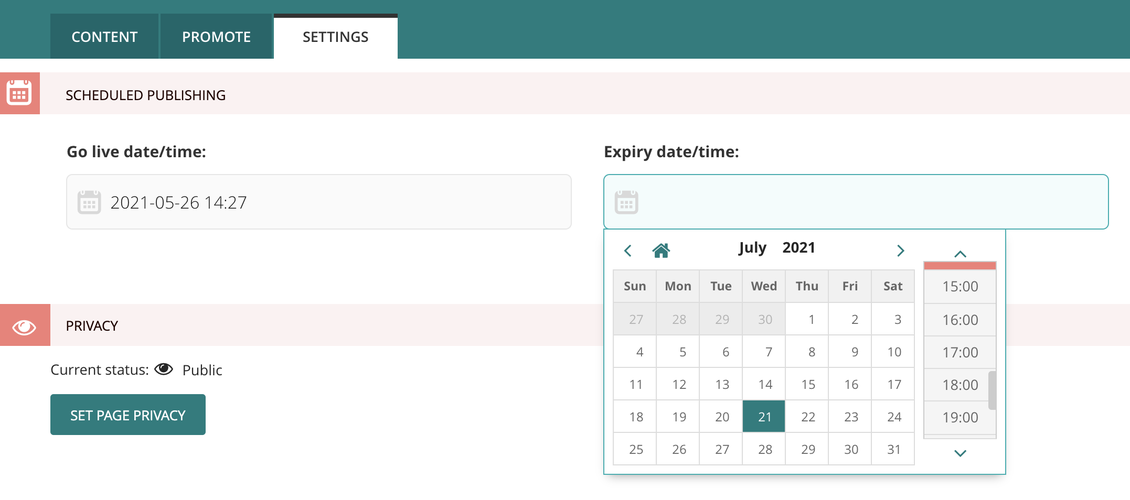
- Click the Settings tab towards the top of the screen.
- Click the 'Go live date/time' field.
- Select a date and time from the dropdown. If you wish to publish at an off-hour time (e.g., a time not listed on the menu), you can enter your date and time manually. The field format is the date, YYYY-MM-DD, followed by time. Wagtail uses a 24-hour clock, so 2:35pm would need to be entered as 14:35.
- Repeat the step above for 'Expiry date/time' field.
- Publish the page. Changes will take effect at the designated go-live date/time, and the page will revert to draft status according to the expiry date/time.
Related Pages
- Wagtail Guide: Portal Basics
- Portal Page Architecture
- Accessing Wagtail
- Navigating Wagtail
- Page Types (Templates)
- Creating, Saving, + Publishing Pages
- Page Privacy, Unpublishing, + Deleting Pages
- Moving Pages and Reordering Content
- Page and Site History (Formerly Page Revisions)
- Page URLs
- Basic Page Content
- Basic Page Body Blocks
- FAQ Page Content
- Images + Documents