Printing to Administrative (Staff) Printers
Before you begin
CCA has 11 printers exclusively for use by staff and program chairs. Staff can use our upcoming cloud-based print service, PaperCut Hive, to send and retrieve print jobs from any of these printers.
About Staff Print Service
We recently launched a more modern, cloud-based print service for CCA staff members called PaperCut Hive. While administrative printing largely remains the same, there are a few key differences to how staff are set up for and access print services. Read below for more.
PaperCut Hive vs PaperCut MF
CCA has two separate software clients for printing, both developed by PaperCut. Here's who and which printers use(s) each:
- PaperCut Hive - for CCA staff; see Where to Find Staff Printers for printer locations
- PaperCut MF - for CCA students and faculty; available on lab printers and many Xerox printers distributed across campus
Note that PaperCut Hive and MF are not interchangeable, and printers can only print to one or the other. Even if a printer is visible/discoverable from your computer, that doesn't necessarily mean you can print to it.
Current Print Queues
- PaperCut Printer - Use this for printing to any Kyocera printer
- PaperCut Printer - Xerox - Use this for printing to the Xerox VersaLink C9000 staff printer (outside Main 205)
- PaperCut Printer - Generic Driver - If you're having trouble with other drivers, use this to print to any staff printer (some finishing options not available)
Software is missing errors
Some users have reported a sudden loss of print function on newly deployed and existing CCA-issued laptops, encountering a "software is missing" error when attempting to print to "PaperCut Printer." If you run into this issue, please follow the troubleshooting steps outlined here.
Activate your PaperCut Hive account
CCA staff will automatically be invited to join PaperCut Hive. Look out for an invitation email in your CCA inbox, along with instructions for getting started.
You can also follow the instructions below.
Download Issues for Google Chrome Users
Google Chrome users may run into a "Port 9265 is being used by another application" error while attempting to download the PaperCut Hive desktop client. If so, try quitting all active Google Chrome sessions and following download steps below with another web browser.
If problems persist, reach out to the CCA Help Desk.
1 Log into PaperCut Hive site
- Go to hive.papercut.com
- Enter your CCA email, then select "Continue"
- Select "Continue with Google"
- Follow Google's email prompt, then sign in via CCA's SSO login page (and authenticate your login attempt with Duo)
2 Download the PaperCut Hive client for your device
- Within PaperCut Hive, select "Set Up My Devices"
- Select "Download for Mac"
3 Install PaperCut Hive on your device
- Open the downloaded package, and run the installer
- Follow all installation prompts, providing your laptop admin credentials as needed
4 Proceed with registering your ID badge and printing
See sections below for details.
Register your ID badge
1 View your PaperCut Hive print code
- Log in at hive.papercut.com
- Select "Show Code" from the main dashboard (this is your printer login code)
2 Tap your card at any staff printer
Each staff printer is equipped with an ID badge reader above the touchscreen and displays a small red dot.
3 Enter your login code on the printer touchpad
The code entry is not case sensitive. Select "OK" to proceed.
4 Tap the green login button
This should log you into PaperCut Hive and register your badge.
Now you can log in by tapping your badge on the ID card reader at any staff printer, rather than entering your printer login code each time.
How to print
Print Functions and Navigation
When you log into a printer with your badge or your print code, the PaperCut Hive application will be opened by default. On this screen, you should see a black screen with 4 options on the left side, Print Release, Quick Scan, Device Functions, and lastly, an option to log out of your account.
Print Release lets you print jobs sent to PaperCut Hive from your computer or mobile device. Print jobs will appear here and they can be selected and then printed.
Quick Scan allows you to quickly scan a document and have it sent to your CCA email address or to Google Drive.
Device Functions will take you to the printer’s default functions menu. Here, you can select ‘Copy’ to create copies of physical documents you already have. Once done copying, hit the ‘Home’ button below the touchpad, this should take you back to the Device Functions menu. From here, you can navigate back to PaperCut Hive, by selecting the PaperCut Hive application.
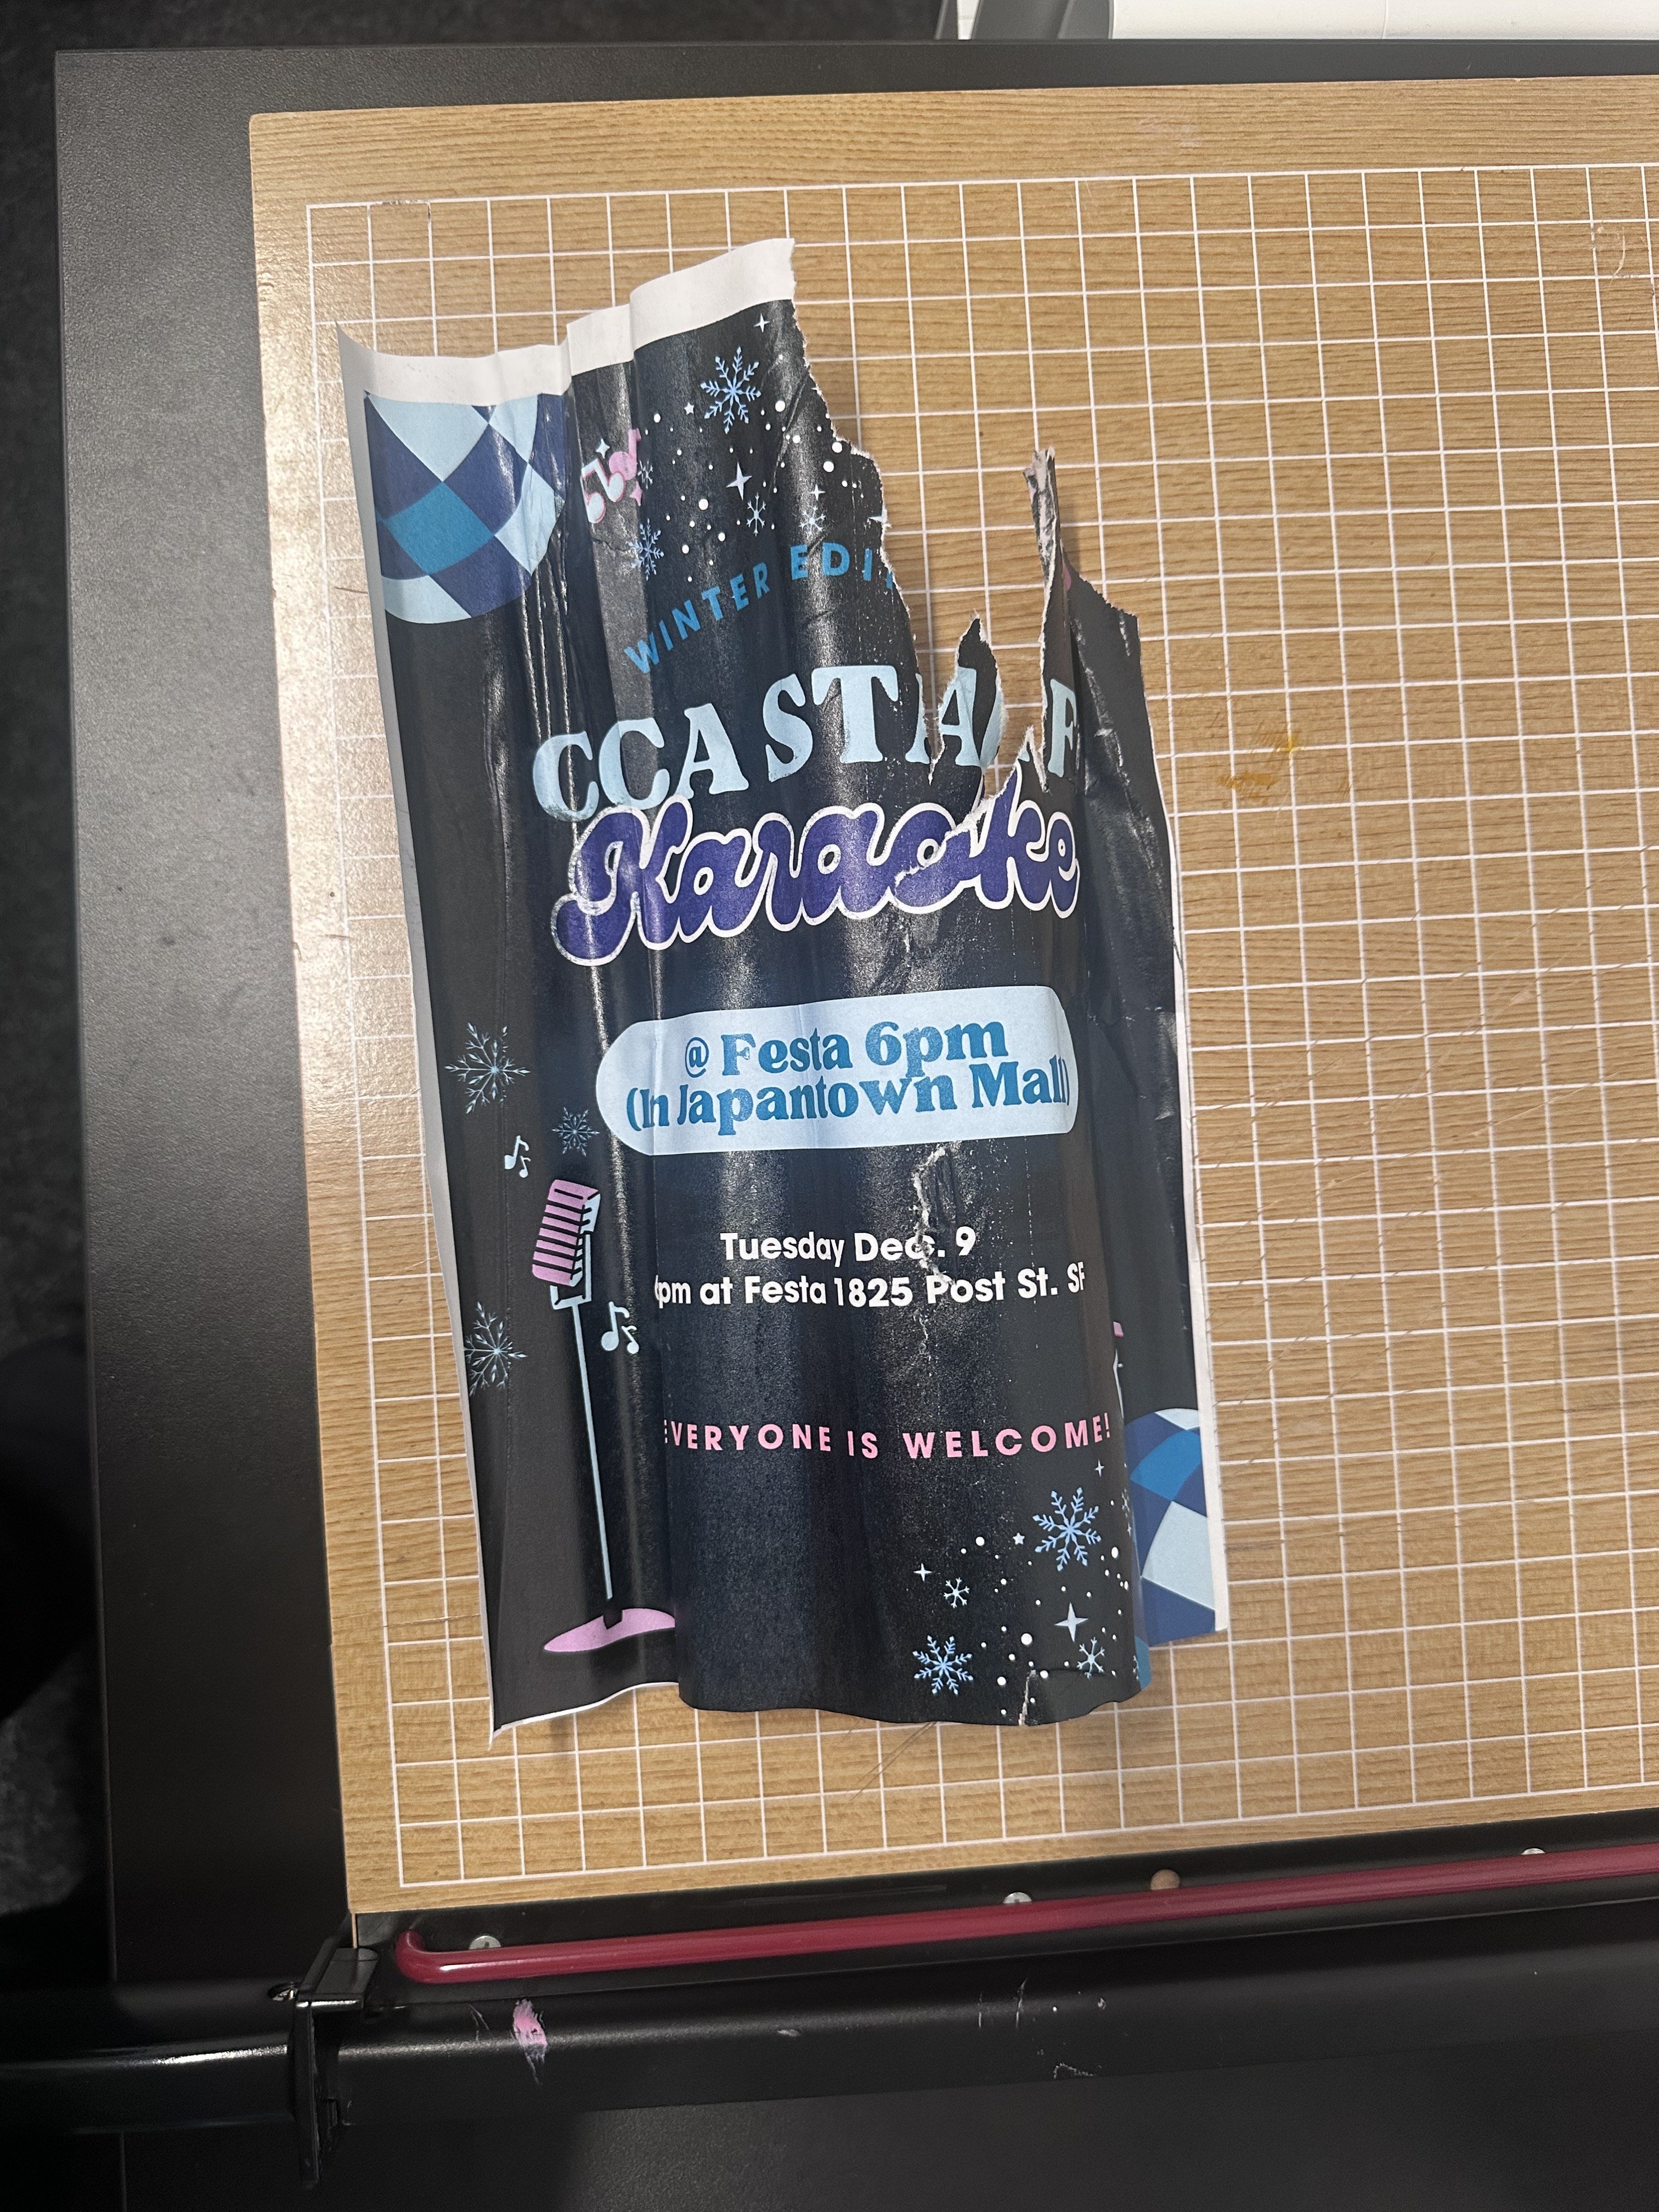
WARNING: We have been experiencing an issue where printers jam when printing full color pages with no margins! When printing pages with full color backgrounds, PLEASE make sure to leave a decent margin ( around .5 inches should do) on all sides of the page or you may cause a jam which will need to be cleared by a tech services staff member.
Example 1:
Example 2:
Notes on navigating between printer functions:
On some printers, the PaperCut Hive app appears on the 2nd page on the touchpad menu. Just hit the small black arrow to flip pages on the Device Functions menu.
On some printers, you may need to log out and log back in to the printer in order to switch between print functions. For example, to access print jobs once you’ve entered the “copy” print function, you may need to hit the logout button in the corner of the print touchpad, then re-authenticate using your CCA ID badge.
1 How to print
- Select "File" > "Print". The printing pop-up should appear.
- Within the "Destination" or "Printer" dropdown, select the appropriate printer/queue:
- PaperCut Printer (Kyocera printers)
- PaperCut Printer - Xerox (Xerox printer)
- PaperCut Printer - Generic Driver (temporary print queue for users experiencing errors with normal queue)
- Review and adjust any printer settings as needed, then select "Print" when ready.
- Scan your badge on the printer's ID card reader to log in.
- Once logged in, select the print job on the printer touchpad.
- Once selected, tap the "Print" button to commence printing.
2 How to make copies
- Open the printer lid and place your document face down on the glass screen, squaring up the document against the rails. (Alternatively, place your document in the top-load copy/scan tray.)
- Scan your badge on the printer's badge reader to log in or input your login code.
- Select ‘Device Functions’ on the PaperCut Hive home screen.
- Select “Copy” on the printer functions screen.
- On the printer touchpad, select the number of copies you want to print.
- Tap the "Start" button on the printer touchpad to kick off the scan and print your copies.
- Collect your printed document(s) and original(s).
- Tap the "Authenticate / Logout" button to sign out of your current session on the printer.
If you have other print functions to complete, you can follow the instructions below listed in the 'Switching Print Functions' section.
3 Send scans to your CCA email
- Open the printer lid and place your document face down on the glass screen, squaring up the document against the rails. (Alternatively, place your document in the top-load copy/scan tray.)
- Scan your badge on the printer's badge reader to log in or input your login code.
- Select "Quick Scan" on the PaperCut Hive home screen.
- Select "Scan to Email". (The scan will commence, during which you'll see a loading screen on the printer touchpad.)
- Select one of the following options from the printer touchpad:
- "Scan Next Page" to scan another document (you'll need to reload the scan bed/tray with a new document first).
- "Finish and Send" to email the document to your CCA email.
- "Scan Next Page" to scan another document (you'll need to reload the scan bed/tray with a new document first).
Setting Up the Mobile App
For those who want to print from mobile devices, or use their mobile devices to manage print jobs, this can be done with the Papercut Hive Mobile App.
1 Download the App
- Navigate to the “Set up my devices tab” on the PaperCut Hive site and select into “Mobile & Tablet”.
- A QR code should appear on your screen. You can scan this with your mobile device which should take you to a ”Start Setup” page. If You are at any point asked to log in, simply enter your CCA email and password to be authenticated into PaperCut Hive on your mobile device.
- From here, you should be navigated to a screen with 2 steps, Firstly, to copy the linking code to your clipboard. Following that, you can navigate to either the App Store or the Google Play store to download the PaperCut Hive app.
- Once downloaded, open the PaperCut Hive app, and select ‘Enter Linking Code”. Here you can paste the linking code you copied earlier, or enter the linking code showing on the browser where you originally scanned the QR code.
- Once your app is linked, you should be prompted to enable notifications. After this you will be navigated to the main screen. This is where you can monitor your print jobs and release them to the printer.
2 Enabling Mobile Device Print Access
- If you wish to print directly from your mobile phone, instead of just monitoring jobs, you will need to download the PaperCut Hive profile on your device. Select the head and shoulders icon in the top right, and then hit “Print form this phone? Install Profile”
- You should then be prompted with some simple instructions you can use to download the profile.
- Now you are ready to print from your mobile phone! Navigate to the document you’d like to print, and then when selecting your destination, choose “PaperCut Hive Printer”
Even after the profile has been downloaded, the PaperCut Hive app screen won’t change. This doesn't mean you aren’t set up though, you just need to print directly from the print settings on other apps. The PaperCut Hive app is only used for monitoring and releasing print jobs!
Print finishing options (Kyocera Printers)
You can adjust job settings like black-and-white/color, single-side/duplex, and staple/no-staple from the Kyocera Print Panel:
1 Open "Printer Options" from the print dialog
Make sure your printer destination is "PaperCut Printer."
Depending on what application you are using to print, you may need to select "More settings" and/or "Print using system dialog..." to reveal the "Printer Options" dropdown.
2 Select "Print panel"
Once clicked, a new modal dialog box will appear.

3 Click "Settings..." on the modal
This should open up the "Kyocera Print Panel" application in a separate window.

4 Adjust printer settings as desired
Use the various tabs within the Kyocera Print Panel application to view and adjust print settings and finishing options.
Here's where you'll find a few common job settings:
- Select single-sided or duplex within the Basic tab
- Select color or black and white within the Basic tab
- Select stapling preferences within the Finishing tab
5 Select "OK" within the Kyocera Print Panel
This will save the print settings for your current/upcoming print job and close the Kyocera Print Panel application.
6 Select "OK" within the print dialog
Back in your print dialog, if the modal dialog box still appears, click "OK" to close it.
7 Save print settings as a preset (optional)
If you wish to save your current print settings and finishing options to use for future print jobs (without having to open the Kyocera Print Panel every time):
- Click on the "Presets" dropdown within the print dialog
- Select "Save Current Settings as Preset..."
- Name your preset (e.g., "Color, Duplex, No Staple"), then click
- Make sure the preset is available for "PaperCut Printer"
- Select Type as "Print Job Preset"
- Select "OK" to save.

8 Select "Print"
Then retrieve your job by logging into any Kyocera staff printer, or by printing via mobile device.
Print finishing options (Xerox Printer)
Finishing options for the Xerox VersaLink C9000 follow a slightly different set of steps than the Kyocera printers.
1 Select "Xerox Features" from the "Printer Options" menu
When printing to the staff Xerox printer, first make sure to select "PaperCut Printer - Xerox" as your printer/destination.
Within the print dialog, open the "Printer Options" dropdown menu. If you don't see this option, you may need to select "More settings" and/or "Print using system dialog..." first.
From the "Printer Options" dropdown, select "Xerox Features."

2 Select print job settings
A modal dialog box should open displaying print job settings (select "Paper/Output" from the dropdown menu at the top of the modal if it's not already selected by default).
Adjust print job settings as desired, then click "OK."

3 Select "Print"
Then retrieve your job at the Xerox printer.
The staff Xerox printer does not have an ID card reader at this time. In order to retrieve jobs from this printer you'll need to authenticate using your PaperCut Hive user access code.
To view your access code, log in to hive.papercut.com using your CCA account, then find your access code within the "Home" tab.
Remove "Secure Printer" from your device
Starting on Thursday, April 17, “Secure Printer” will no longer be available for use. To remove this printer from your print options on your CCA-issued Mac:
- Go to System Settings > Printers & Scanners.
- Select the printer you want to remove.
- Click the "Remove Printer" button.
Where to find staff printers
As of mid-April, staff printers can be found in the following spaces:
|
Building |
Room, Office, or Location |
Printer Model |
Recommended Print Queue |
|---|---|---|---|
|
Main Building |
1st floor hallway near room 133 suites |
Kyocera TASKalfa 6054ci |
PaperCut Printer |
|
Main Building |
2nd floor hallway near room 240 |
Xerox VersaLink C9000 |
PaperCut Printer - Xerox |
|
Main Building |
ASAP office, B1, 1st floor |
Kyocera TASKalfa 3554ci |
PaperCut Printer |
|
Double Ground |
Osher Lobby, Simpson Family Makers Building |
Kyocera TASKalfa 3554ci |
PaperCut Printer |
|
Double Ground |
Resource Hub Office, D101, Simpson Family Makers Building |
Kyocera TASKalfa 2553ci |
PaperCut Printer |
|
80 Carolina |
Student Services office, 1st floor |
Kyocera TASKalfa 3554ci |
PaperCut Printer |
|
80 Carolina |
Copy Room, 2nd floor |
Kyocera TASKalfa 6054ci |
PaperCut Printer |
|
80 Carolina |
Advancement, 2nd floor |
Kyocera TASKalfa 6054ci |
PaperCut Printer |
|
184 Hooper |
First Year Program office, GC6 |
Kyocera TASKalfa 3554ci |
PaperCut Printer |
|
Founders Hall |
1st floor office |
Kyocera TASKalfa 3554ci |
PaperCut Printer |
|
455 Irwin |
Operations and Facilities, 2nd floor office |
Kyocera TASKalfa 3554ci |
PaperCut Printer |
|
121 Hubbell |
Center for the Arts and Public Life |
Kyocera TASKalfa 3554ci |
PaperCut Printer |
Paper refills
If paper for refilling staff printer trays isn't available near a particular printer, you can procure more paper from the Shipping & Receiving office, located in the Simpson Family Makers Building, room D136.
"Software is missing" error
Some staff users have encountered a "software is missing" error when trying to print to the PaperCut Printer or noticing that PaperCut Printer has disappeared entirely from their print options.
While working on a more permanent fix, a temporary workaround is now available.
Use "PaperCut Printer - Generic Driver"
We recently deployed a new print queue, "PaperCut Printer - Generic Driver," which should now be a selectable print destination from the printer dialog.

Don't see the new driver? Restart your device
If you don't see the new driver on your device, you may need to restart your laptop. Within a few minutes of restarting your machine you should see the new "PaperCut Printer - Generic Driver" available.
If download errors persist, reach out to the CCA Help Desk for further assistance.
Still not seeing the new driver?
Within a few minutes of restarting your computer, you should automatically see both "PaperCut Printer" and "PaperCut Printer - Generic Driver" as available printers.
If you do not see either of these options or continue to experience issues printing, reach out to the CCA Help Desk for further assistance.