Printing via Laptop (macOS) to Lab Printers
PaperCut Client Installation
1 Add the PaperCut Software to your laptop computer
PaperCut Client macOS Papercut macOS Client
2 Locate installer in Downloads folder
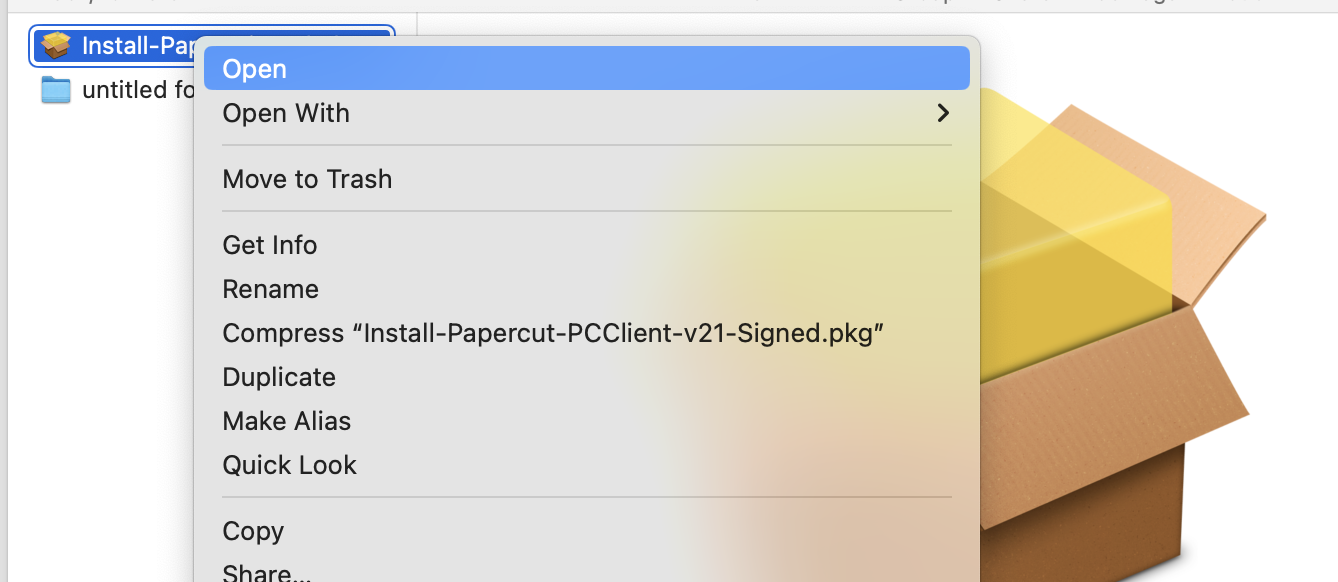
Hold control key while clicking on installer, select Open
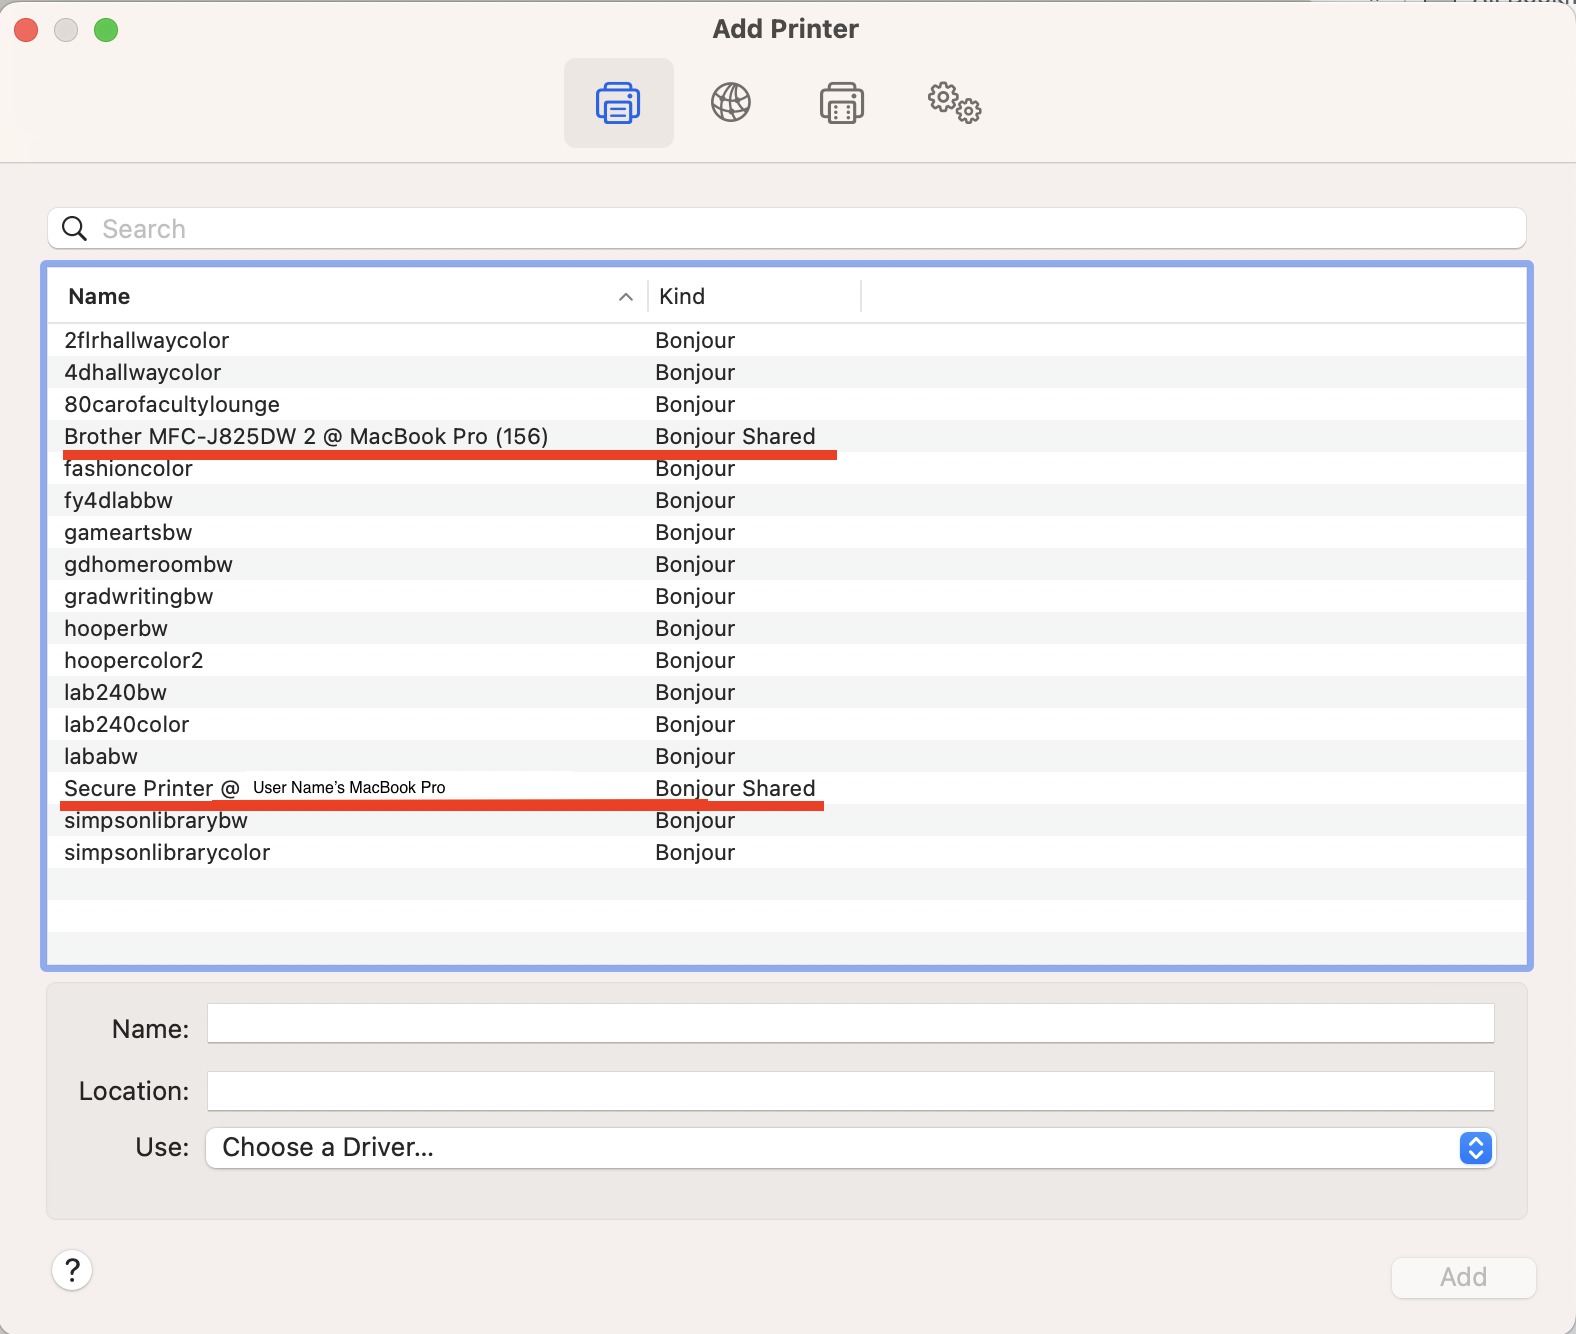
Avoid printer queues 'Bonjour Shared' or ending with '@_____'
If there are printers queues in the Add Printer / Bonjour list that are labeled 'Bonjour Shared' or have a name that ends with '@_______' . These are NOT official CCA Papercut printers and should be avoided.
As a courtesy to other users, please disable Printer Sharing on our personal laptop in System Settings.
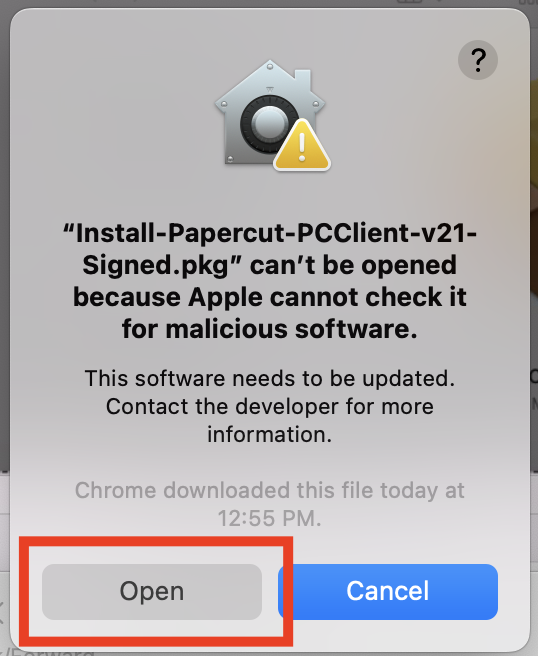
3 Click open at the following window
If window does not appear, proceed to Step 4
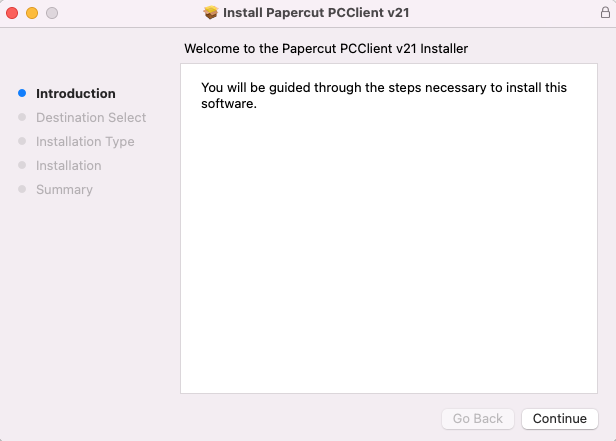
4 At the "Install Papercut PCClient v21"
Click continue and follow the onscreen instructions to install Papercut
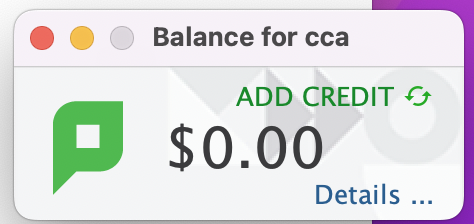
5 Make sure the "PCClient" is open on your desktop
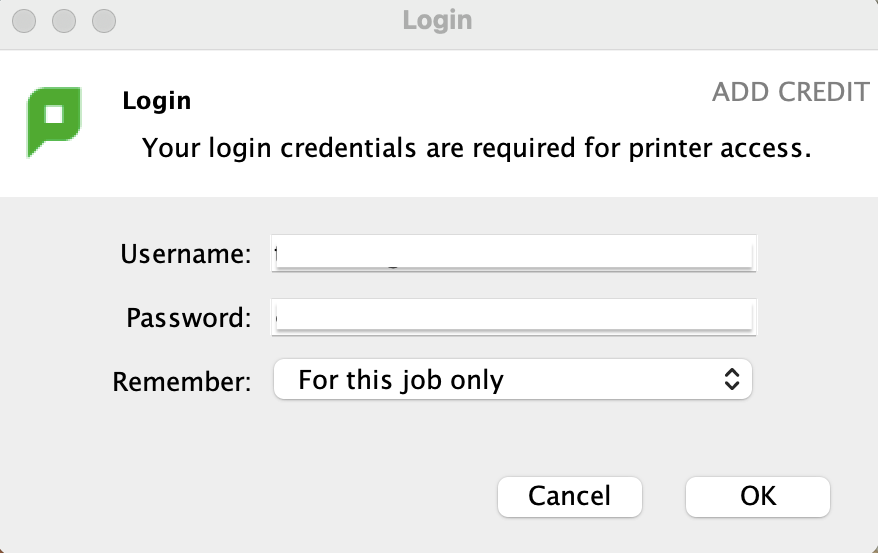
Login with your CCA credentials, click OK
Adding Printers Instructions
1 Method 1 for adding printers
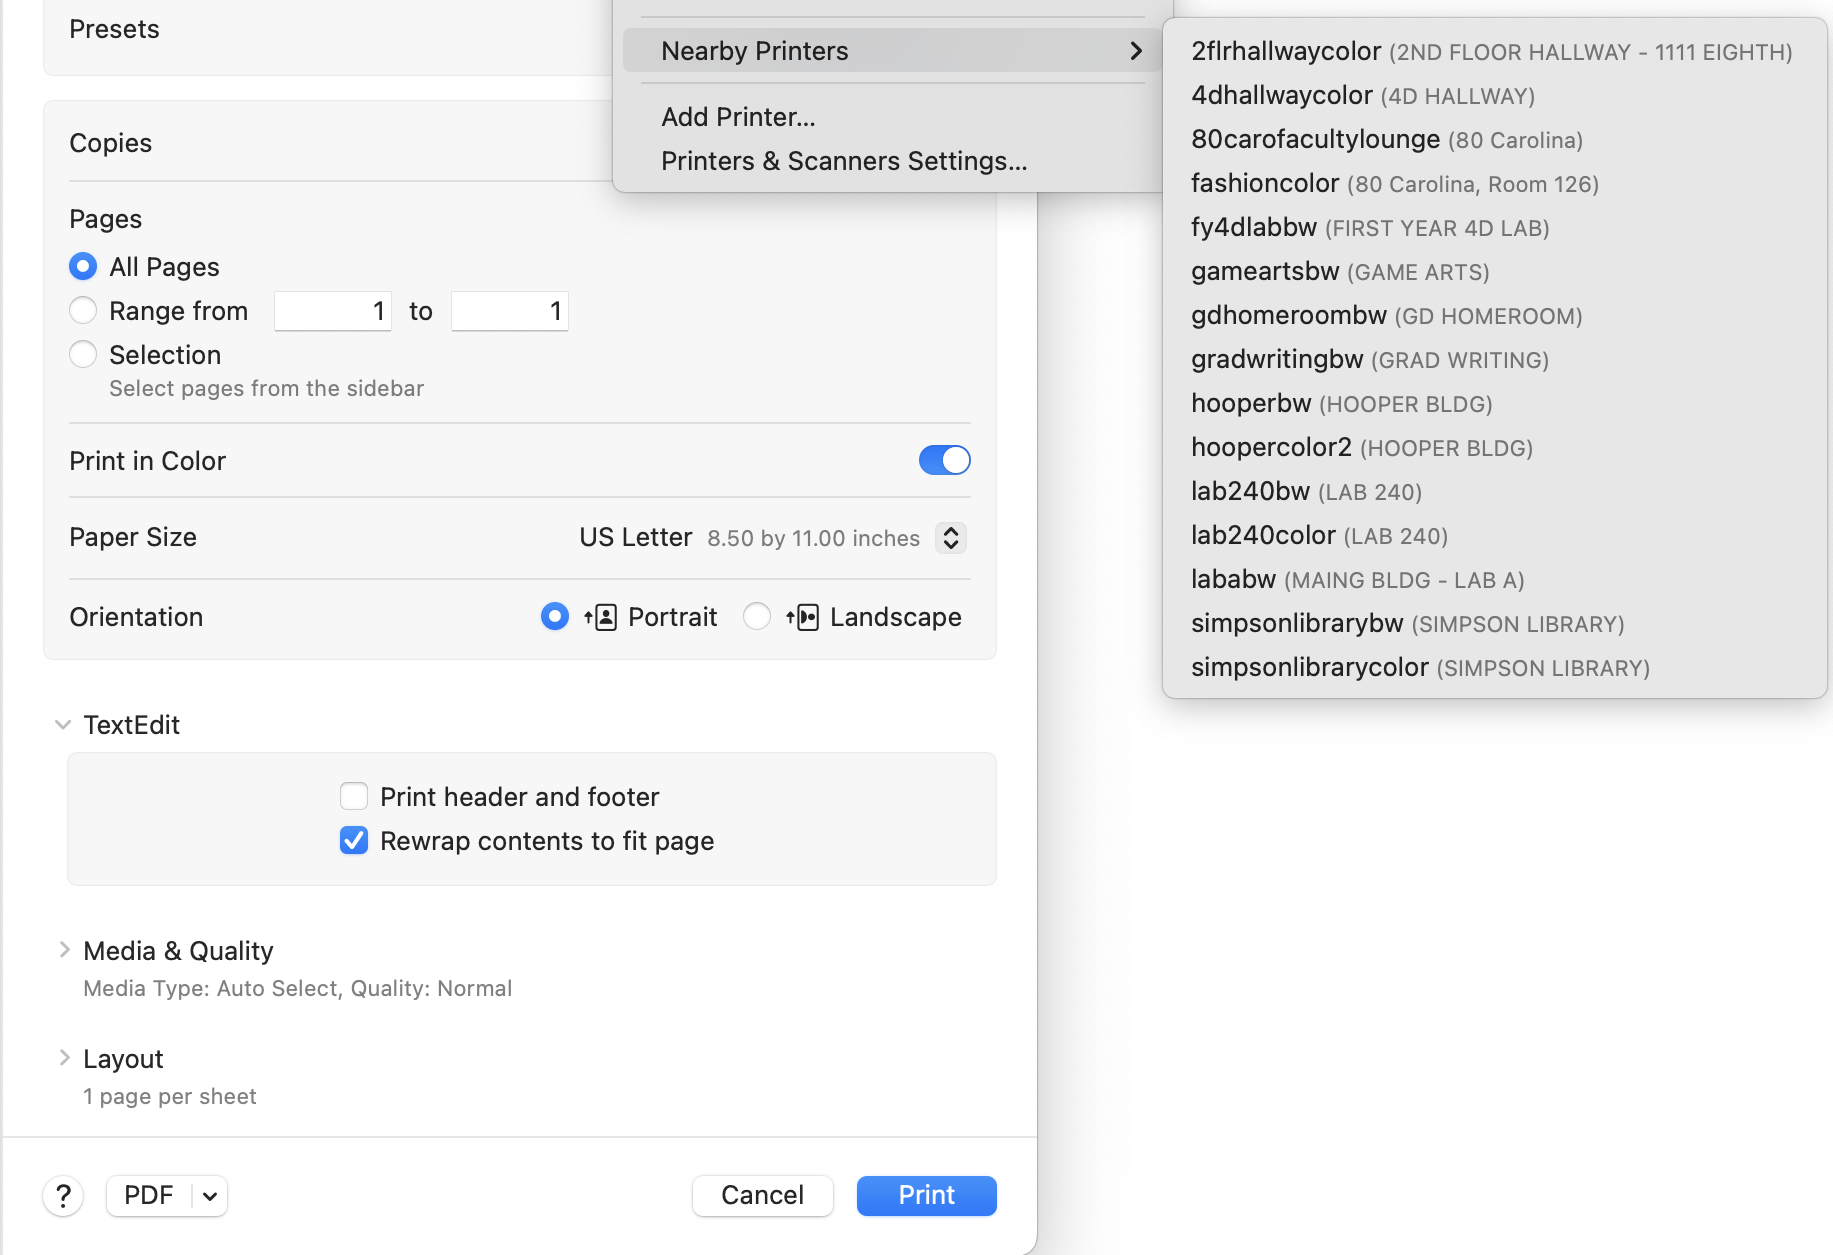
In some applications, you can select from the 'Nearby Printers' drop-down list, then click 'Print'
If the 'Nearby Printers' drop-down is not an option, use Method 2
2 Method 2 for adding printers
Go to macOS Systems Settings > Printers & Scanners, select desired printer then click Add
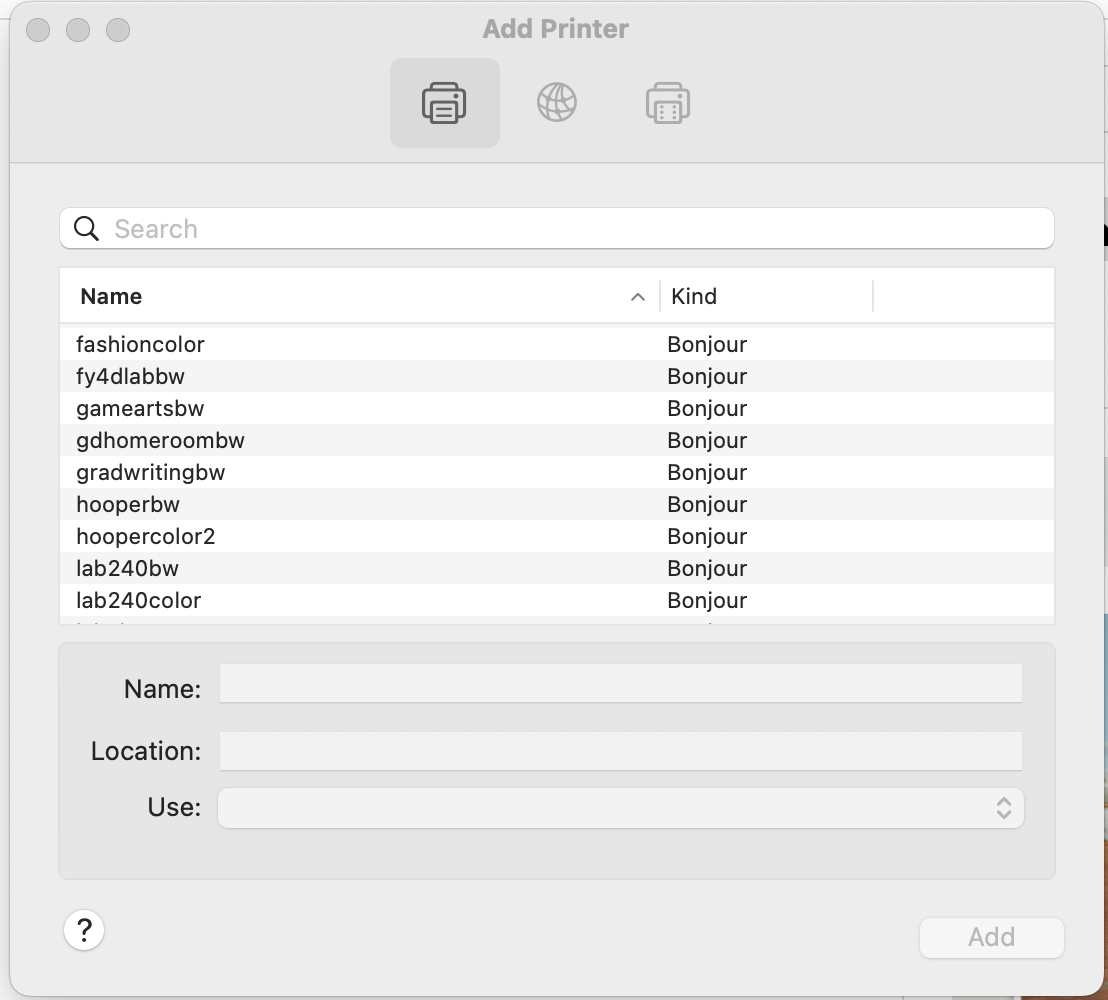
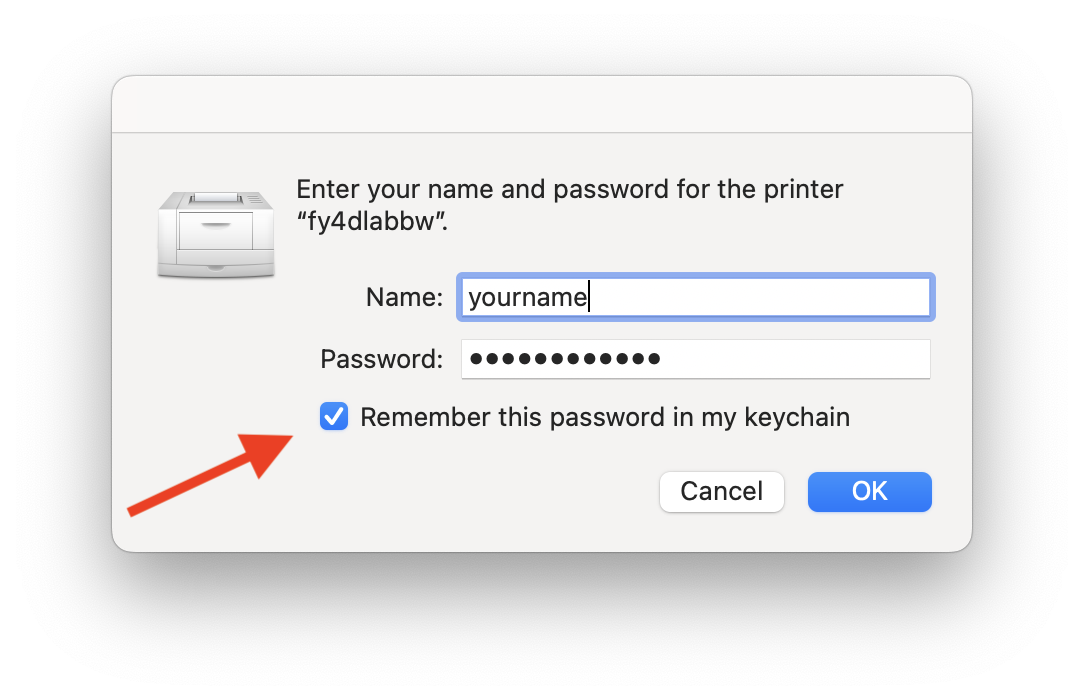
3 Add CCA credentials for printer queue (one-time only)
- Enter your CCA credentials at printer window
- Check box 'Remember this password in my keychain', click OK
Printing Instructions
1 For each print job, PaperCut window will launch
Login with your CCA credentials, click OK
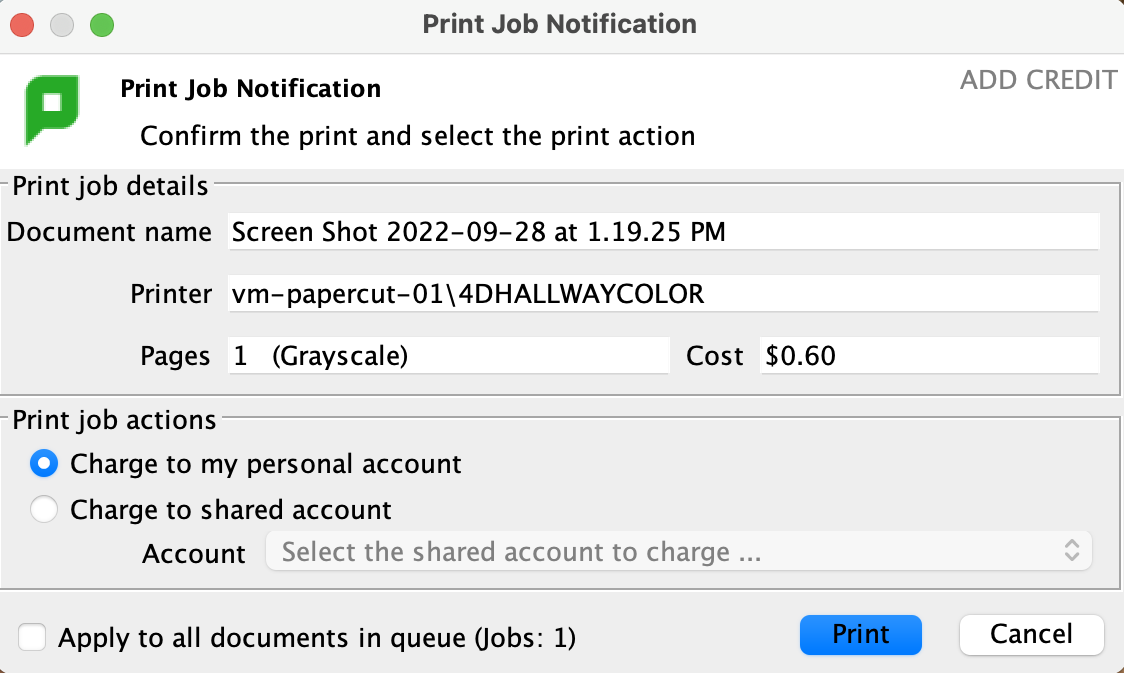
2 PaperCut will ask you to confirm the price of your print job and selected printer
Confirm by clicking 'Print' then file will be sent to the printer
