Printing via Laptop (Windows) to Lab Printers
PaperCut Client + Mobility Print Installation
1 Download PaperCut Client + Mobility Print from AppsAnywhere
Mobility Print for Papercut Windows Mobility Print Windows Installer
Papercut Client Windows Papercut Client Windows Installer
2 Unzip and extract the folders to the desired designated folder
Mobility Print for Papercut Windows
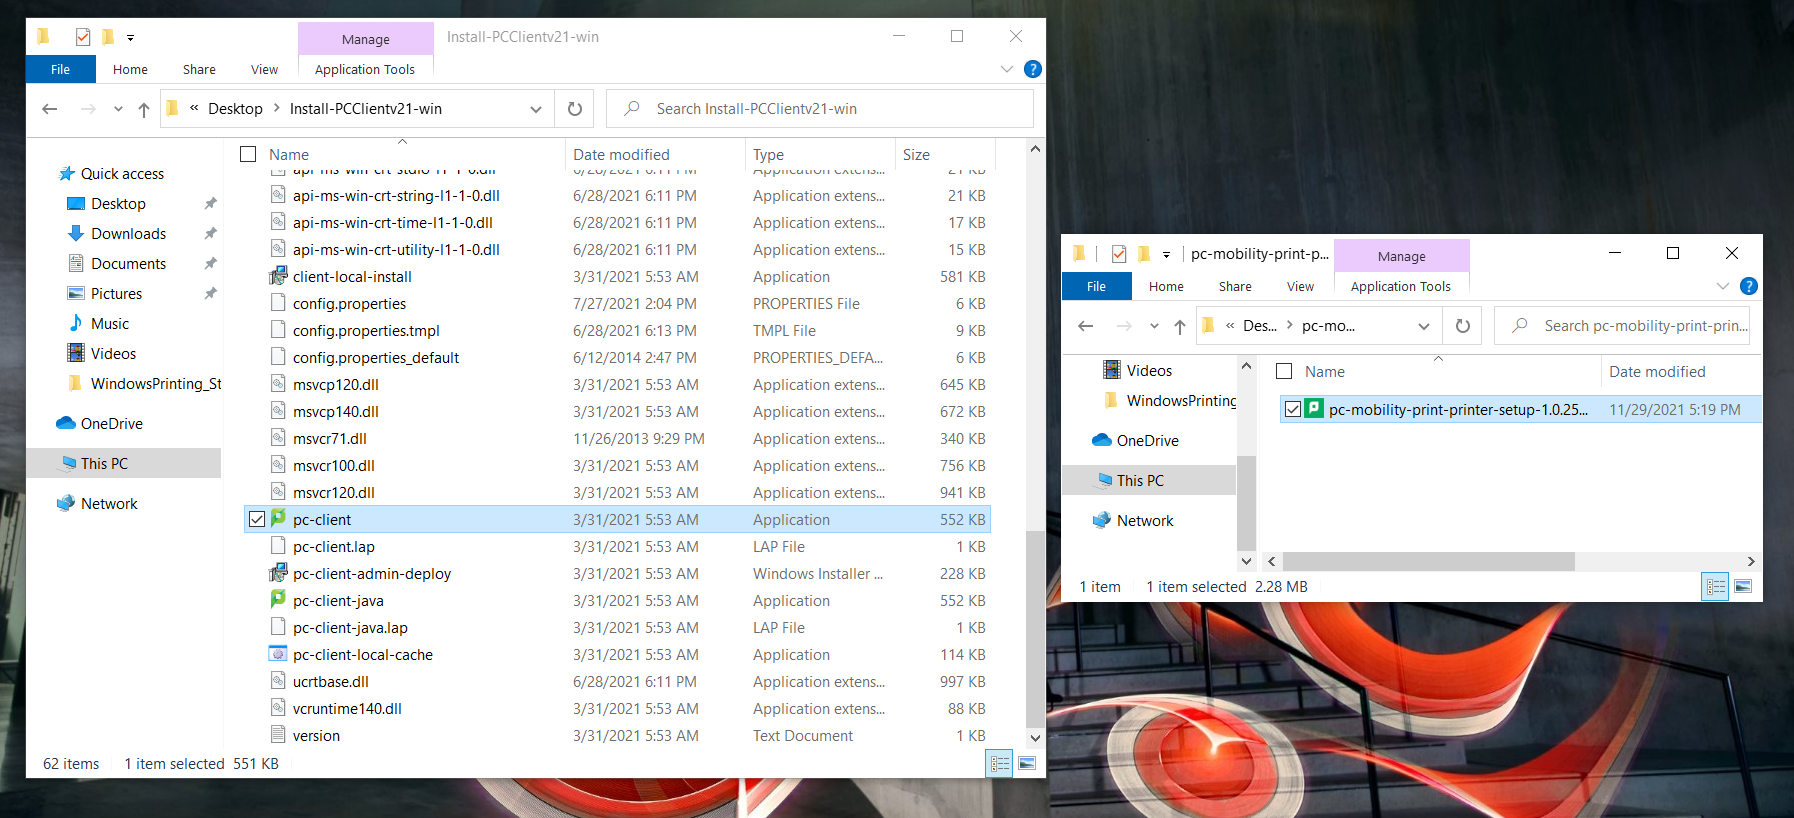
- Extract JUST the application from the mobility folder (you will not need the _MACOSX folder), it starts with ‘pc-mobility-print-printer-setup’
Papercut Client Windows
- Extract the whole folder from the papercut client zip file. Scroll down the folder you extracted until you see 'pc-client' (NOT 'pc-client-java')
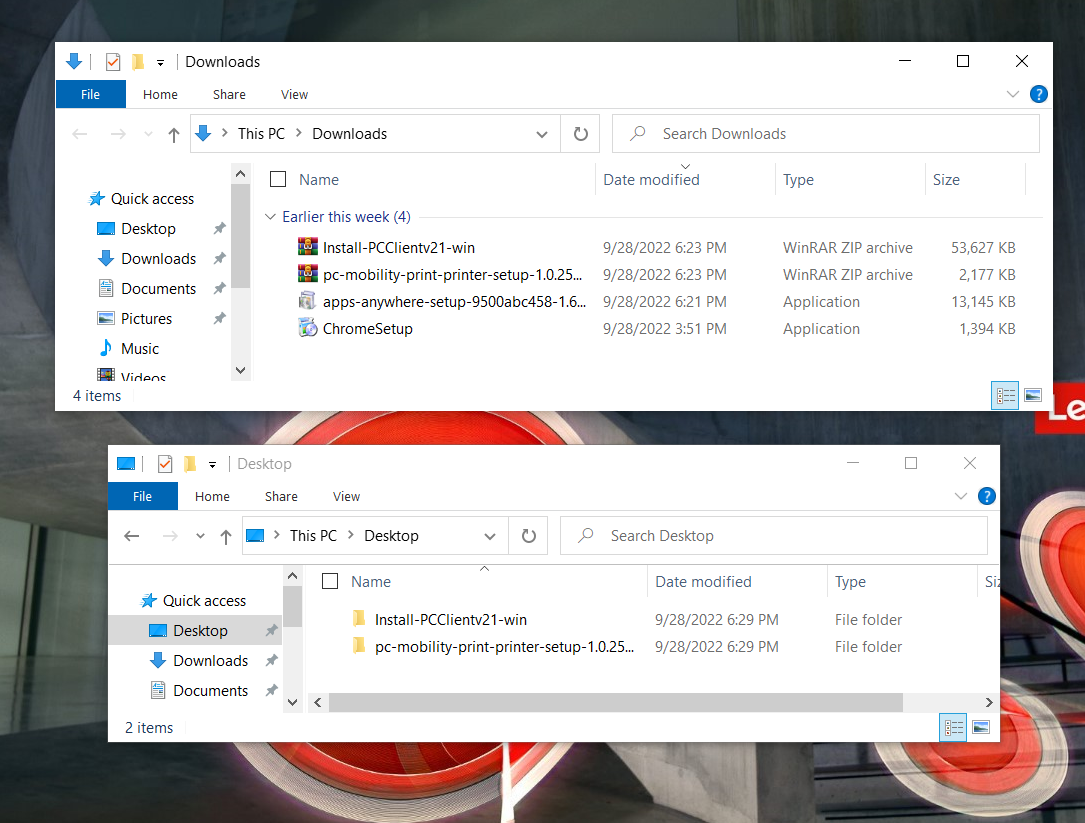
3 Applications' icons should appear to the left of their name
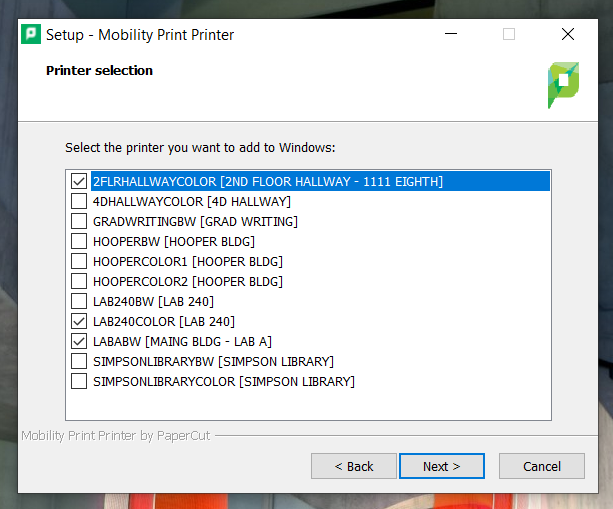
4 Install Mobility Print for Papercut Windows
Go through the set-up process which will have you:
- Choose the language you’d like to install it in
- Accepting the agreement terms
- Choose what printers you’d like to add to your windows device
5 Install the PaperCut Client
When you successfully install the Papercut client, you should see it pop up at the bottom right corner of your screen

6 Set up the printers
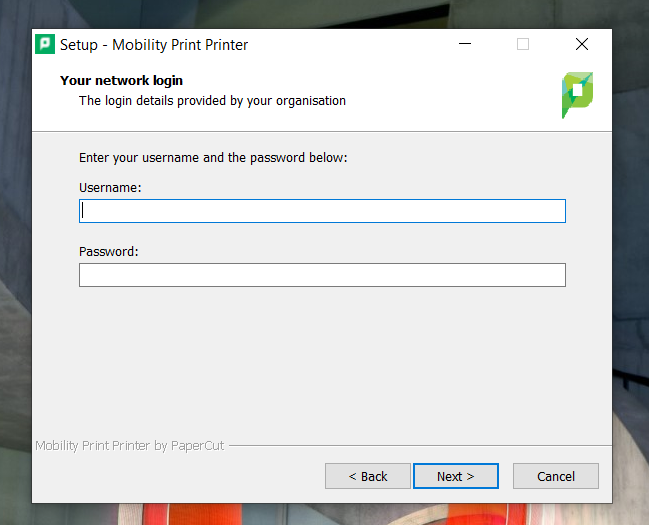
- After choosing the desired printers, click 'Next'
- You will then be asked to log in with your CCA username and password
- Click 'Next' to successfully install the printers
- After the set-up is complete, click 'Finish' to exit the Setup window
7 Test the printers
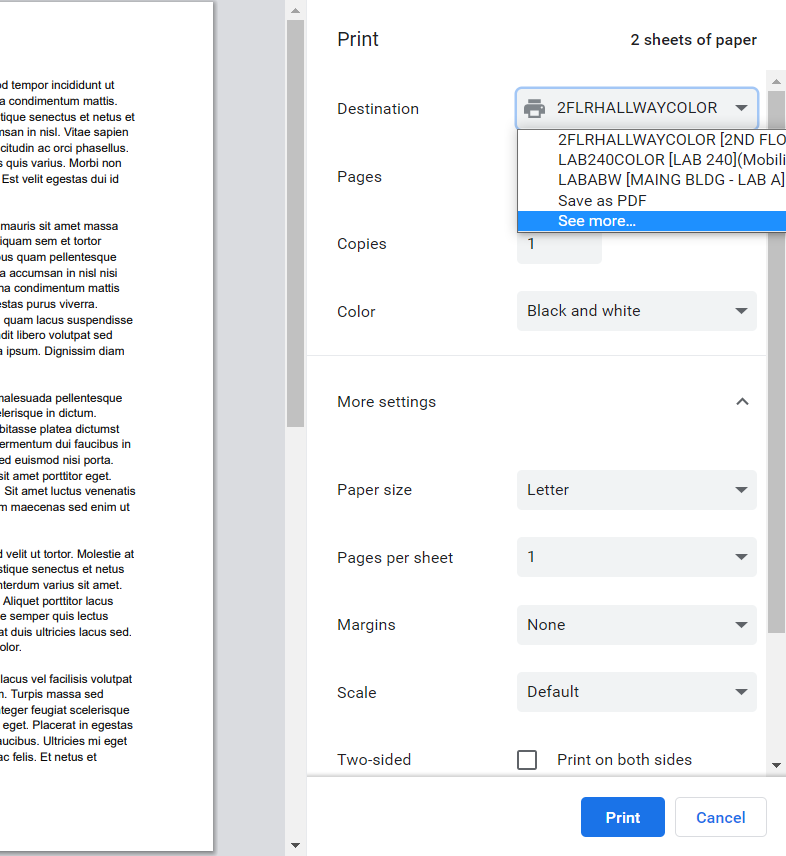
- When you go to print and select printers, you may not see the printers you just installed. Usually you would need to click 'See more…'
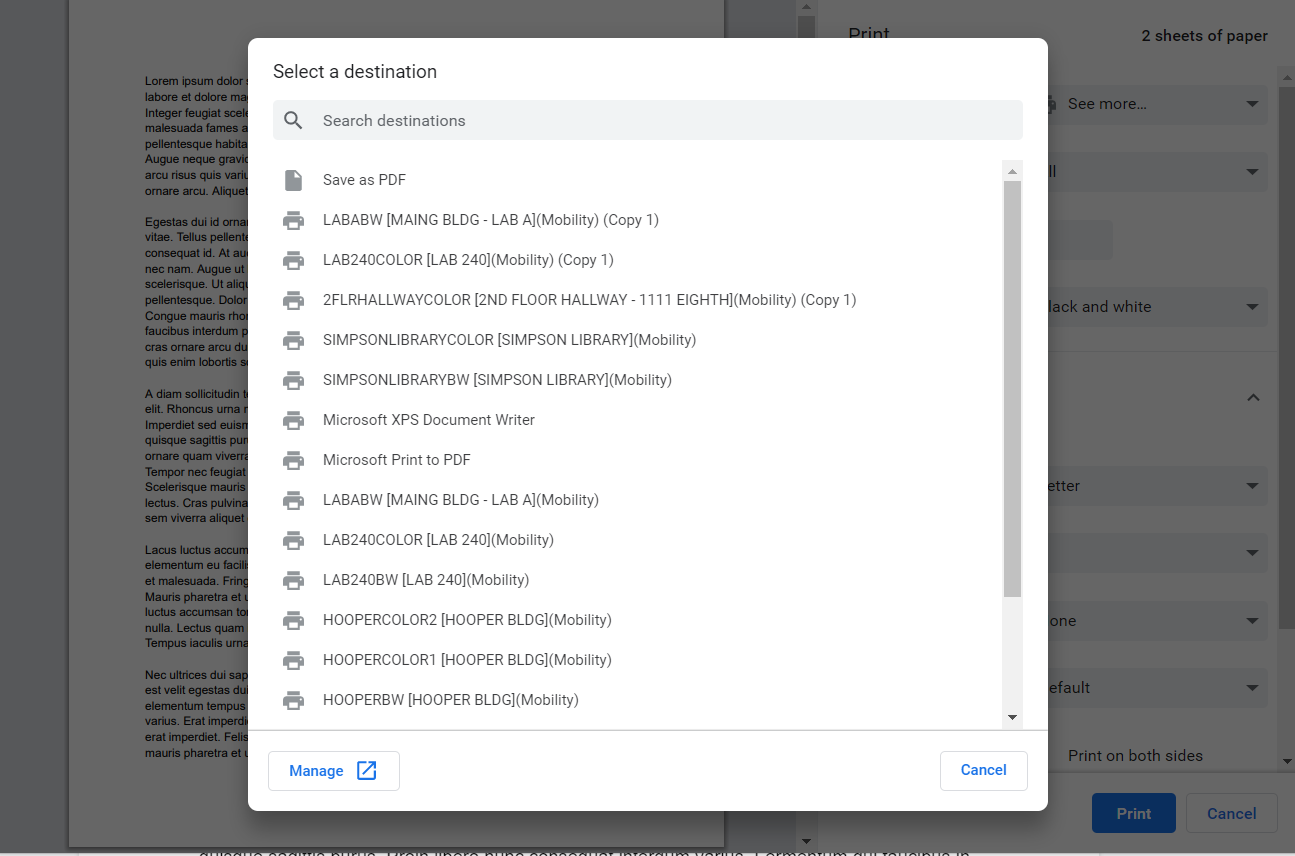
8 You will now be able to scroll through the list of printers and select the one you’d like to print on
Printers with 'Mobility' at the end of the name have been installed correctly
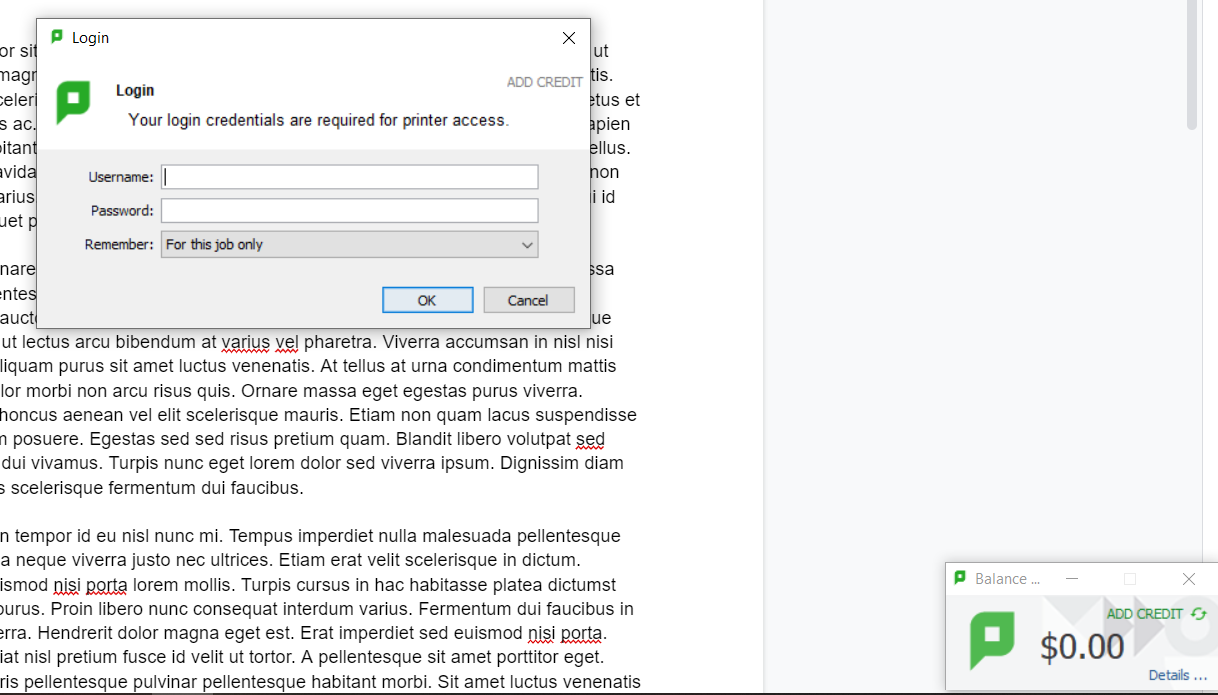
9 Enter your username and password at the PaperCut window
Your print job should now go through!
