Create Your Showcase Gallery
What is the showcase?
Eligible students will be able to create a virtual gallery of their work to be included as part of an online showcase exhibition, where their work will display alongside that of fellow participants.
What makes my showcase different from my profile gallery?
Your showcase gallery is separate from your profile gallery, though you'll have a one-time opportunity to copy over content from your profile gallery when you first start your showcase.
Your showcase gallery will remain private to you until the exhibition launches, after which time your gallery will be publicly accessible from the showcase webpage.
A link to your showcase gallery will also display on your Portal profile. Before the showcase launches for your semester, this link will be private to you. Post-launch, this link will accessible to others according to your profile's privacy settings.
How do I participate?
Showcase eligibility is based on graduation eligibility data (maintained in Workday). For more details, important dates, and contact information, read the how to participate page.
If you are eligible, follow the steps below to set up your showcase gallery.
Note: Your uploaded works will only be used on cca.edu and Portal webpages related to the showcase. CCA will not use your artwork images in other formats, such as print materials or social media, without additional notice and consent.
Jump to a Step
Start your showcase
1) Go to your Portal profile (if you are not logged in to Portal, then follow the CCA login prompts to do so).
2) Click the Start Showcase button. You'll only see this button if you're eligible to participate in an upcoming showcase.

If you think you are showcase-eligible but do not see the Start Showcase option, reach out to studentrecords@cca.edu to confirm or update your eligibility status.
3) Read the information at the top of the Start Showcase screen.
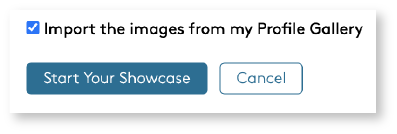
- From this screen you have the one-time option to copy over existing items--images and narrative statement, if you have them--from your Portal profile gallery.
- Whether you check the import box or not, your name will be transferred over from your Portal profile (you can update your showcase display name later on).
4) Check/uncheck the import box and click Start Your Showcase to create your showcase gallery.
- Click Cancel if you'd like to create your showcase at a later time.
Upon creation, you'll be taken to the showcase editor, from which you can add/edit content for your showcase gallery.
Update Your Showcase Name, Pronouns, and Narrative Statement
1) Open the showcase gallery editor. You can do so from your Portal profile by clicking the Edit Showcase button.
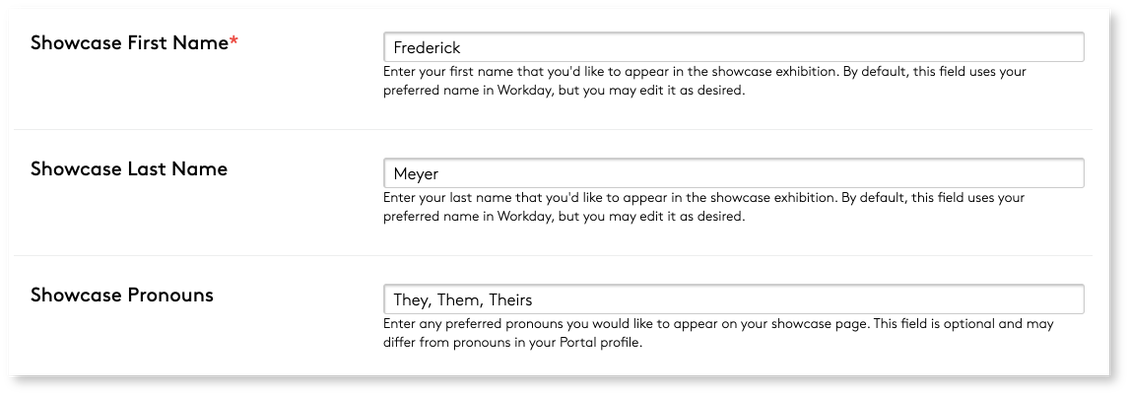
2) Update your Showcase First Name and/or Showcase Last Name according to the name you'd like to display on your showcase page and when browsing the exhibition.
- These fields populate your first and last name from your Portal profile by default.
- Only the first name is required.
- You can enter middle names or multipart names in either field, and you can paste special characters into these fields as well.
3) Enter your preferred pronouns for display on your showcase page. This field is optional and does not copy over pronouns set in your Portal profile.
4) Fill out the Narrative Statement rich text field.
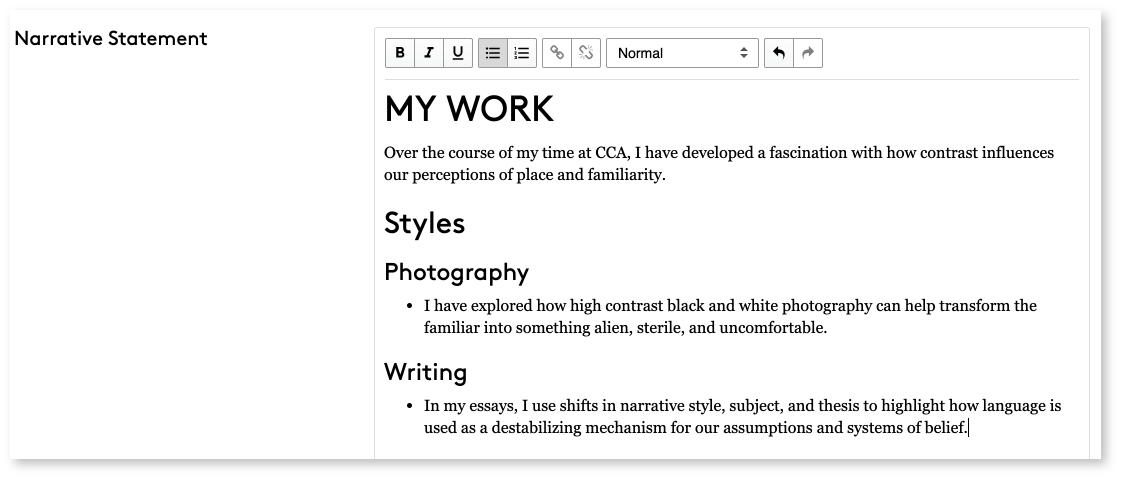
- This text displays at the top of your showcase page and above your gallery on your Portal profile page.
- You can utilize headings, lists, links, and text styling for additional complexity.
- Use this field to highlight specific projects, themes, works, awards, accomplishments, etc.
Add at least one image to your gallery
You'll need to add at least one image to your showcase gallery in order to be included in the showcase exhibition.
The showcase image uploader is identical to the one for your Portal profile gallery. Follow the steps below for tips on adding and editing uploaded images.
Add a new image
1) Click the Add Image button.
2) Scroll down to the image upload form. Upload an image file from your computer (must be under 5MB).
- There is only limited support for uploading animated GIFs, which should be much smaller than the 5MB maximum supported for other image types.

Check out this additional guidance on uploading particular image types to your showcase or profile galleries, such as images with intricate lines or images containing text.
3) Fill in a title for the work.
4) Fill out any other fields as desired, such as collaborators, a detailed description, and/or a link.
- If you’re uploading a video, you’ll need to fill in the Video URL field with a link from Vimeo, DailyMotion, or YouTube.
- For videos, the uploaded image (required) will display as a gallery “preview” for your video.
- If your video is hosted on a different platform than those listed above, it will not be playable from your showcase page. Instead, use the Link/Link Label field(s) at the bottom of the image upload form.
Images hosted on your showcase should represent your original work, including any "preview" images used to represent video work.
5) When you've completed the form fields, click Save Image to finish the upload.

Do not re-click Save Image, even if your image does not appear to upload immediately.
New uploads may take a moment to process, and sending multiple save requests may upload duplicate images to your gallery or crash the uploader entirely.
1) While in your gallery editor, uploaded images display in the sidebar. Click the pencil icon next to any image to edit its information.
Edit uploaded images
- You can edit any of the information about the image, but you will not be able to swap out the image file itself.
- Instead, add new images and delete previously uploaded ones as needed.
2) To remove an uploaded image, click the Delete button. Otherwise, click Save Image to retain changes or Cancel to discard them.
You will not be able to toggle between uploaded images while you are in the image editor form. Exit out of the form by clicking Save Image, Cancel, or Delete, then click the pencil icon for the image you’d like to edit.
Reorder your images and set your Featured Image
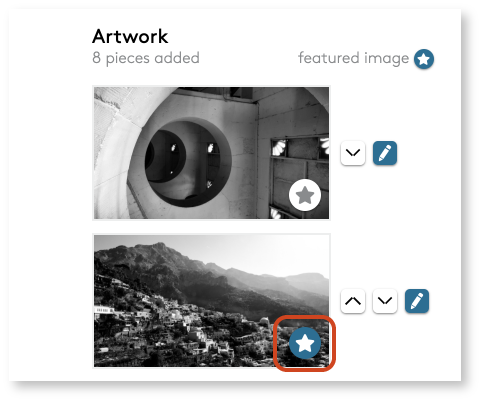
Set your Featured Image
Your Featured Image is the image that appears in the showcase exhibition browse view, alongside your name. Unless otherwise set, your Featured Image will be the first image in your showcase gallery, but you can set any of your uploaded showcase images as your Featured Image.
1) From the showcase gallery editor, scroll down to the list of uploaded artwork.
2) Click the star icon in the lower-right corner of an image thumbnail to set it as your Featured Image.
Reorder images
Your showcase displays images based on their order in the showcase gallery editor.
1) From the showcase gallery editor, scroll down to the list of uploaded artwork.
2) Shift the order of an image by clicking the up or down arrow button next to its thumbnail in the showcase gallery editor.
Save your work and preview your page
To retain any new uploads or edits to your showcase gallery, click the Save Changes button at the bottom of the editor screen (or click Back to Profile to discard them).
Preview (Pre-Launch)
Once you hit Save Changes, you'll automatically be taken to a page preview so you can see what your published gallery will look like.
Click the Edit Showcase button to return to the showcase gallery editor, or click Back to Portal Profile to return to your profile screen.

View Live Page (Post-Launch)
After the showcase launches for your graduation/participation term, your individual showcase gallery becomes live, and any changes you make to your gallery content will publish/display immediately.
When you Save Changes, you'll be taken to your live showcase page, where any changes you've just made will be visible. Unlike the preview mode, you won't see an Edit Showcase button or Back to Portal Profile link. To return to the showcase editor, you can simply click the Back button in your browser.
After you start your showcase gallery, you may notice that a See Showcase Gallery Work link appears on your Portal profile. This link is private to you until the showcase launches for your semester, after which it becomes visible based on your profile privacy settings.
Add/update personal website and social media links
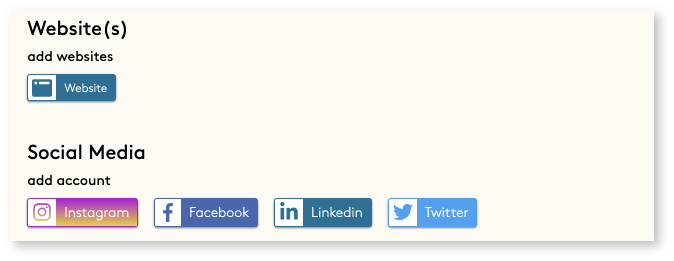
Your showcase gallery displays any website(s) and/or social media you've added to your Portal profile, though visibility of these links are dictated by your profile privacy settings.
As such, websites/social media will be publicly visible if your Portal profile is set to World, or unrestricted privacy. If your Portal profile is set to CCA Community, websites/social media will only be visible on your showcase page to logged-in users.
All other content on the Edit Profile form WILL NOT display on your showcase page.
Any awards, exhibitions, bio, statement of purpose, or other accolades you want to appear on your showcase page should be added to the Narrative Statement section in the gallery editor.
1) Click the Edit Profile button from your Portal profile screen.

2) Update your Privacy Settings toggle as desired.
- Read the Portal profile documentation for more information about available privacy settings.
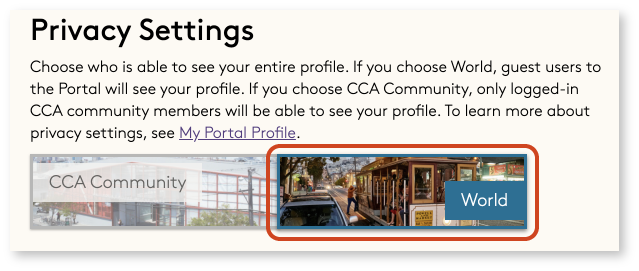
3) Use the provided buttons to add personal website(s) and/or social media accounts to your Portal profile.
4) Click Save Changes to retain any changes to your profile.

Links to websites and social media added here will also display on your showcase page, below your name.

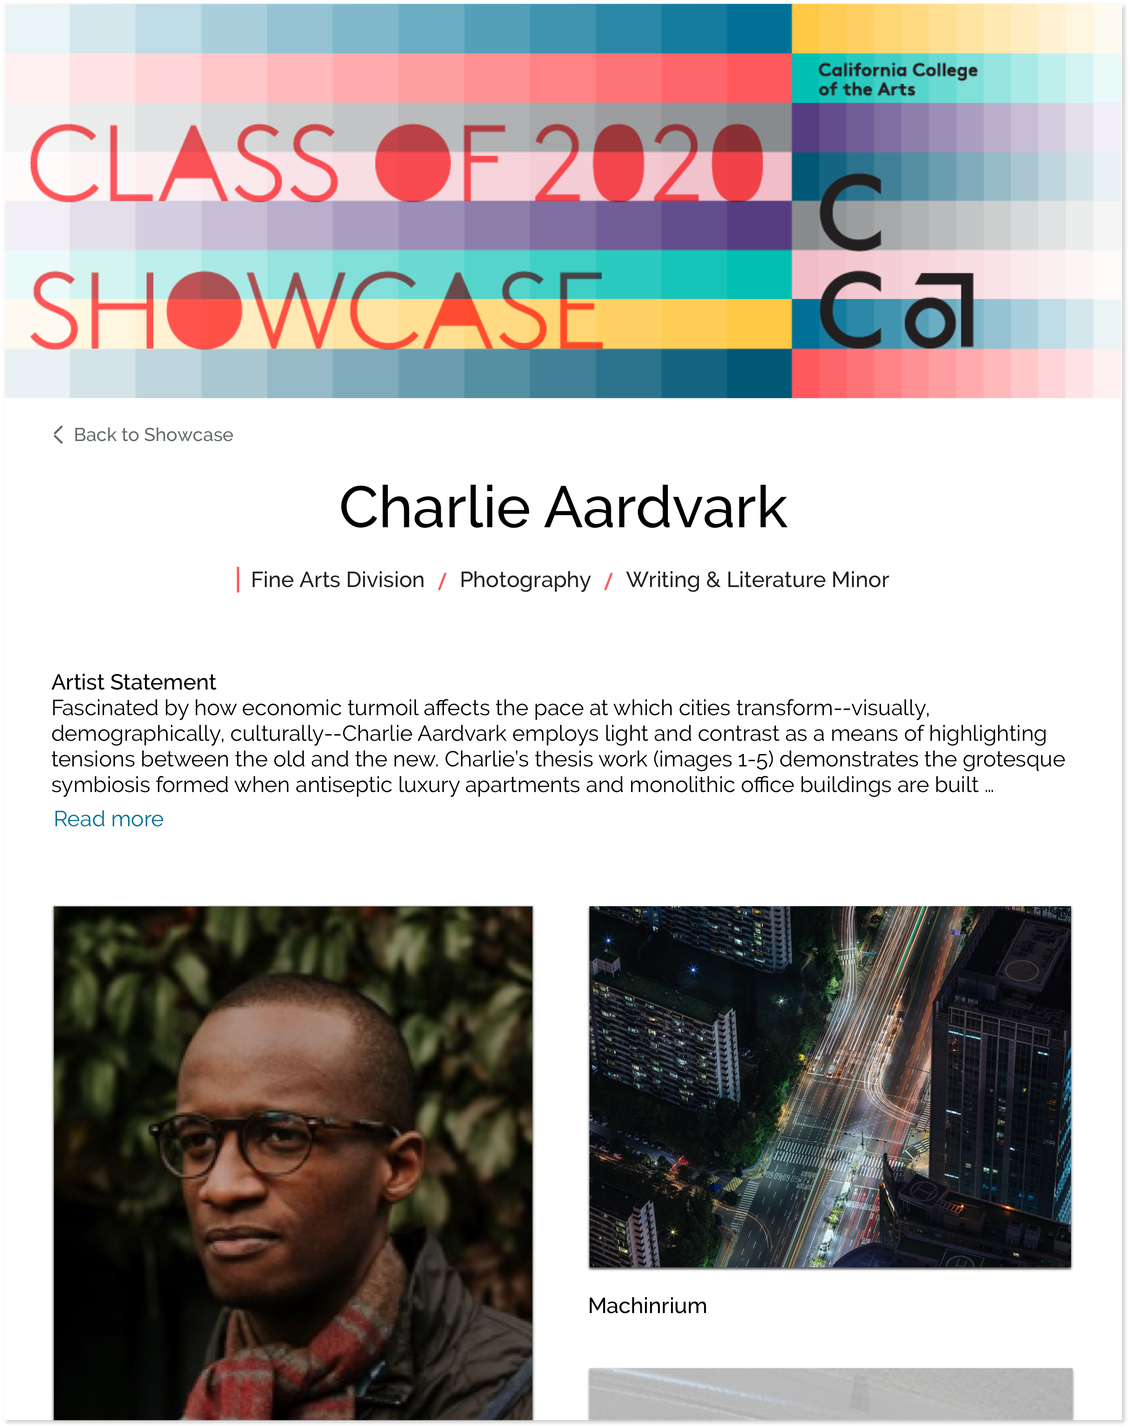
Showcase page display
Your individual showcase page will display according to how you have uploaded content in your profile gallery. Your showcase page has a unique design and a separate URL from your profile gallery on Portal.
Have questions?
Mechanics Questions
- Why does this thing-a-majig do or not do something?
- Why didn’t X publish?
- Why does this image look wonky?
Open a Help Desk Ticket!
Style or Process Questions
- When do I need to finish my showcase?
- When will the showcase go live?
- Should I put this info here or here?
- Does this photo look okay?
Read the Showcase: FAQs or email exhibitions@cca.edu